Windows Support
Velocity Micro's award winning Customer Care, the premier source for information on your Velocity Micro PC. To help answer your questions and address support issues, our team of experts have compiled this library of walk-throughs, downloads, and FAQs. This information is updated, expanded, and refined on a daily basis to ensure you have the very latest information available.
Skip to
How to Perform a Clean Installation of Windows 11
NOTE: This article applies only to Windows 11 installations.
There are times when performing a clean installation of Windows 11 is the best way to restore performance or resolve issues caused by corruption, failed updates, or general system slowdown. A clean installation completely wipes your primary drive, so make sure you’ve backed up all important files before continuing.
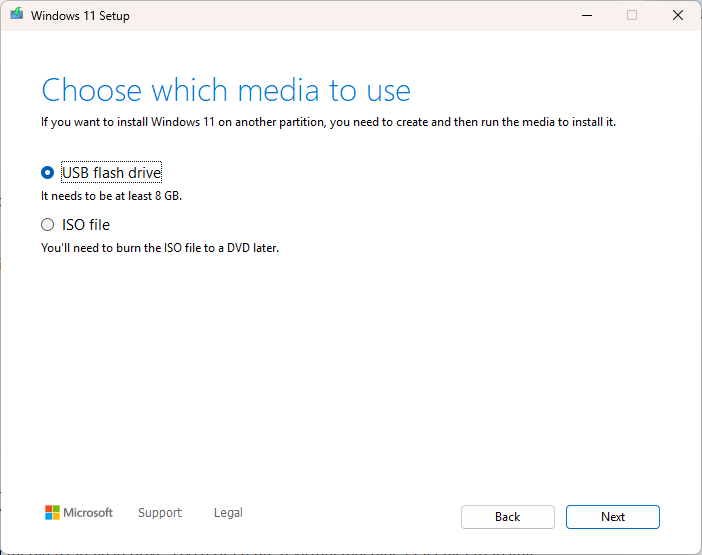
The first thing you’ll need is a Windows 11 installer. This can be a USB thumb drive created using Microsoft’s Media Creation Tool. The drive should be at least 8 GB in size and completely blank — all data on it will be erased during setup.
NOTE: Even if your Velocity Micro system shipped with a Windows installation DVD, it’s recommended to create a new USB installer using the Windows 11 Media Creation Tool. This ensures you’ll be installing the latest version of Windows 11 with the most up-to-date security patches. Most modern systems no longer include an optical drive, so USB installation is the preferred method.
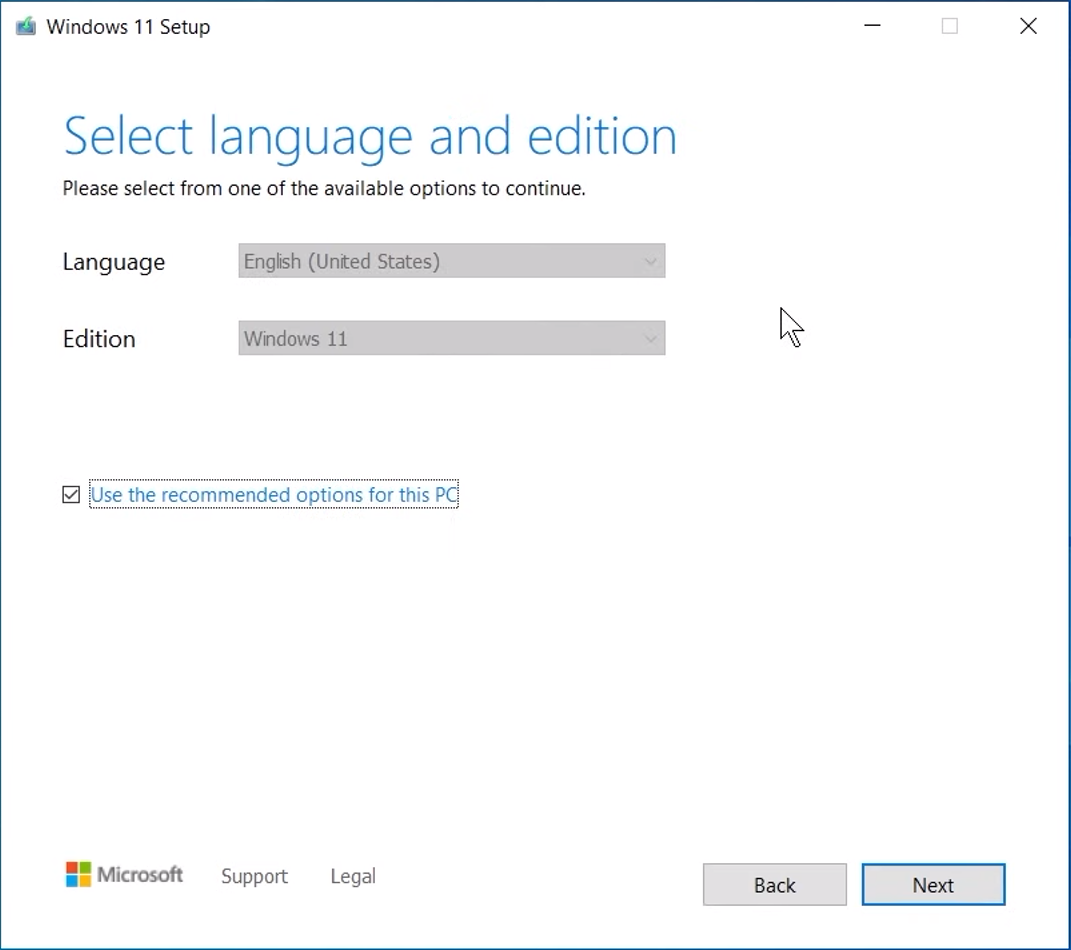
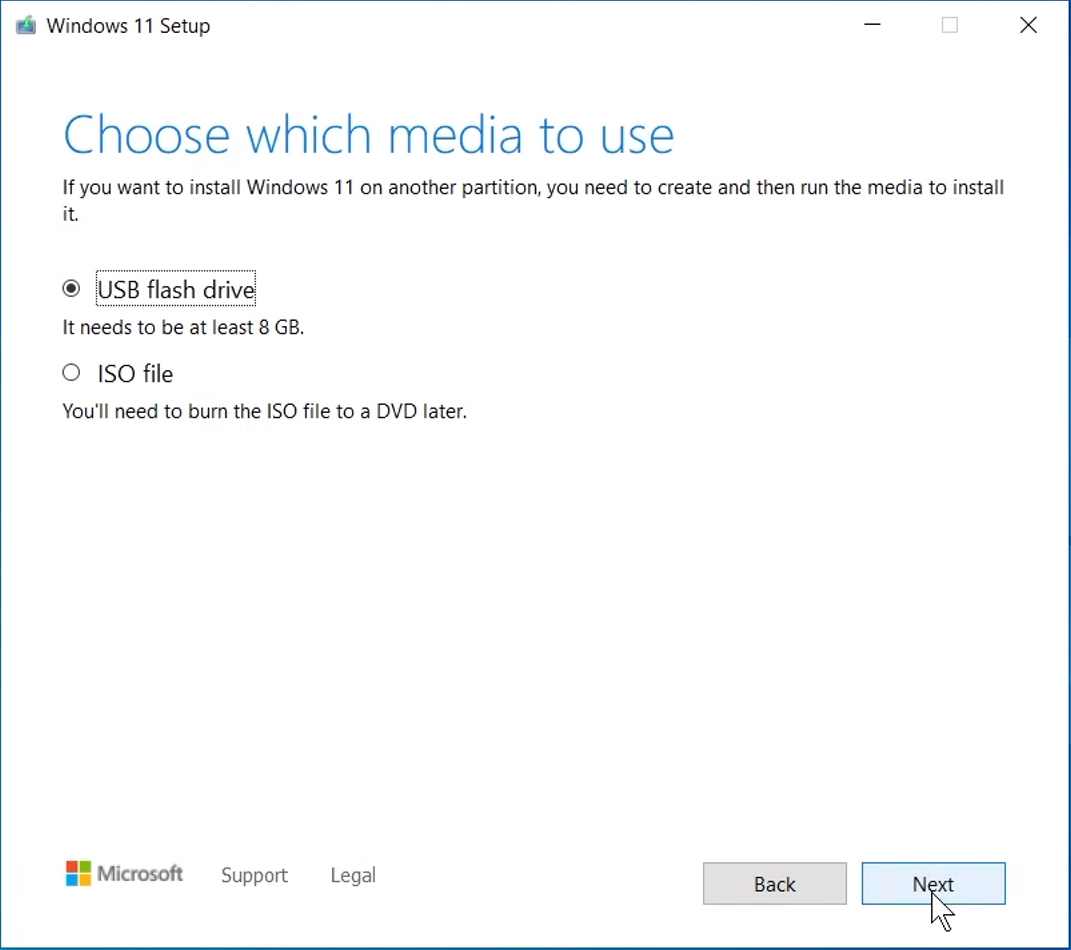
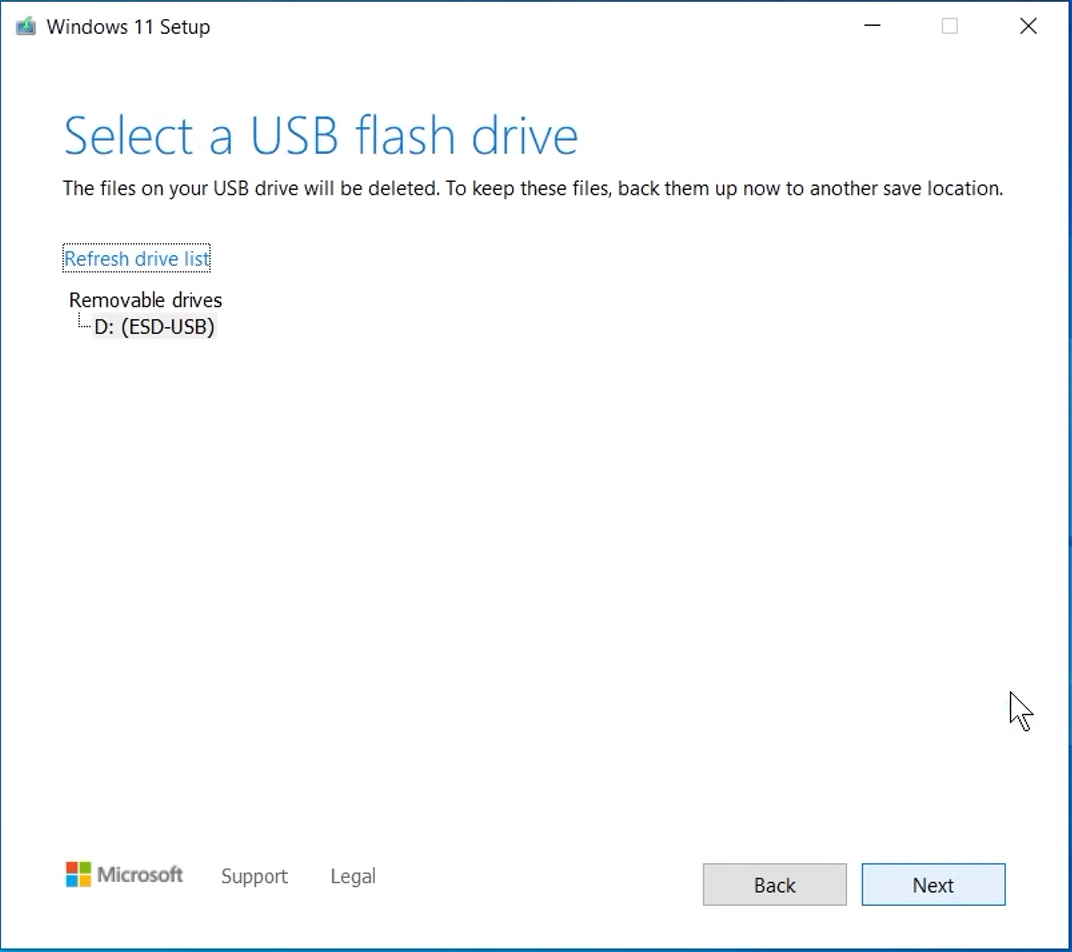
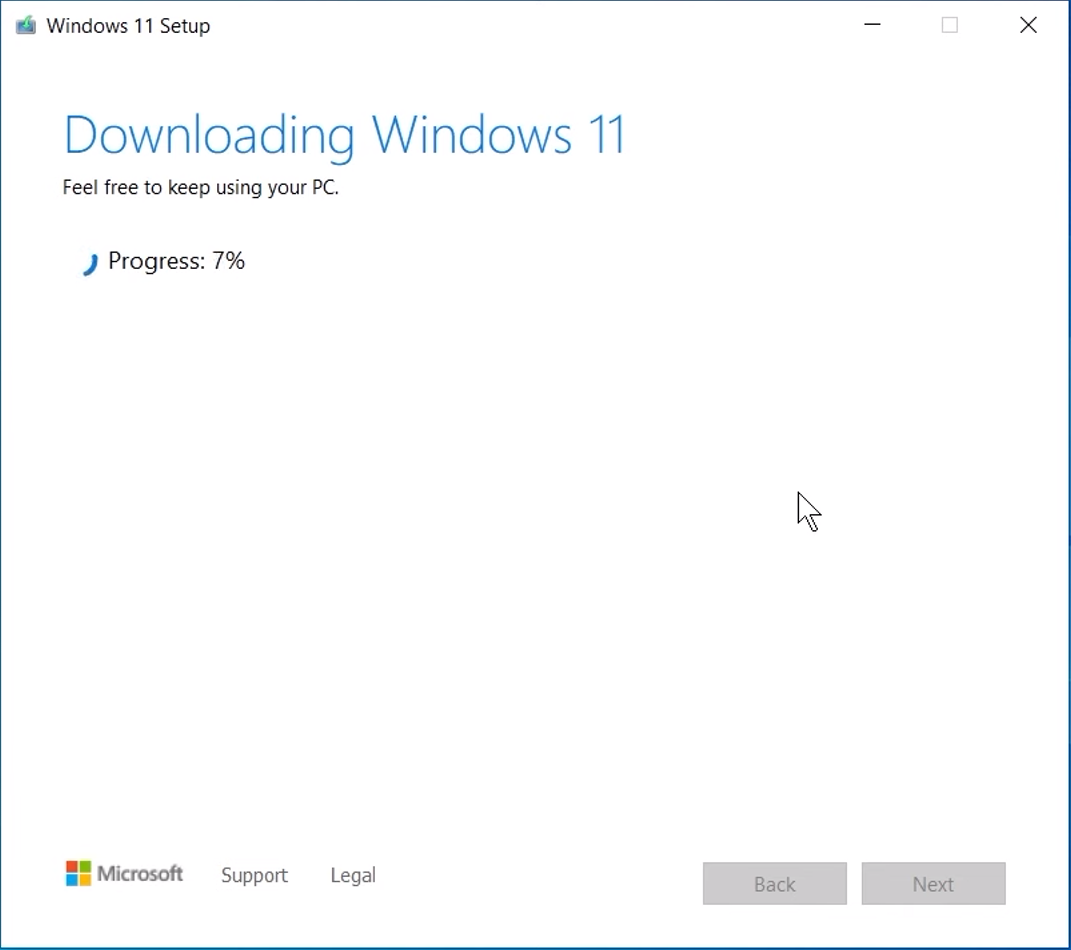
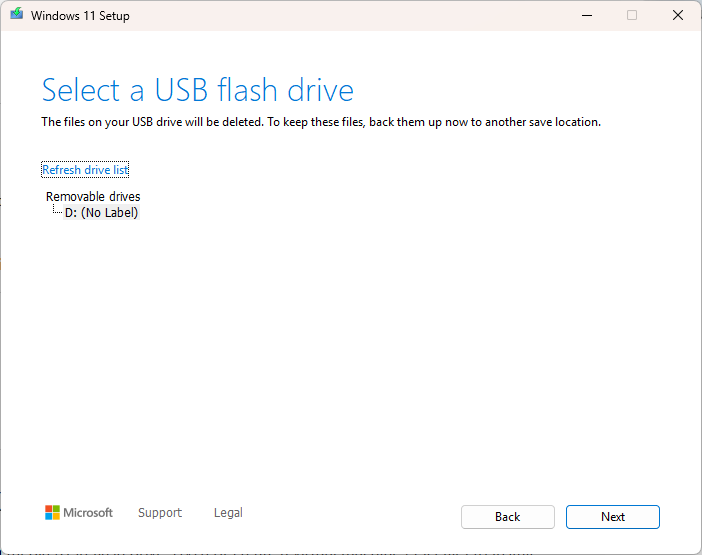
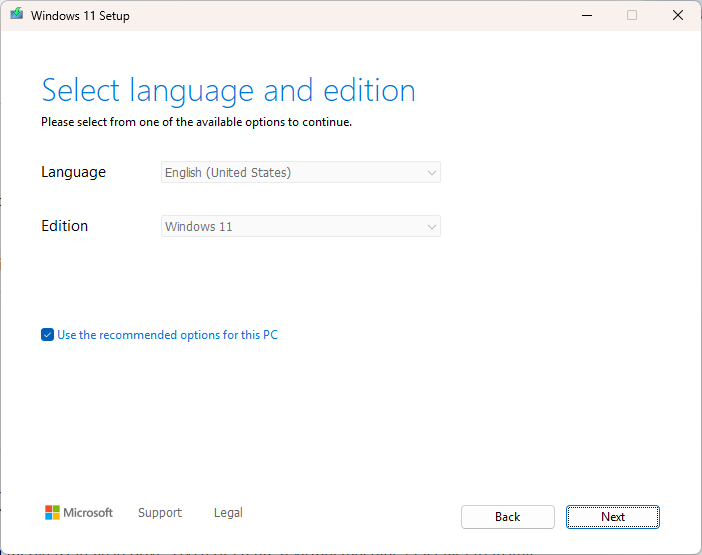
To make a Windows 11 installer USB, download the Windows 11 Media Creation Tool on a working computer. If the system you’re reinstalling Windows on isn’t booting, you can create the installer on another PC. Once downloaded, run the tool and accept the license terms. Choose “Create installation media (USB flash drive, DVD, or ISO file) for another PC”, and select your preferred language and edition (Windows 11). When prompted to choose a media type, select USB flash drive and pick the correct drive letter. Be aware that this will erase all existing data on that drive.
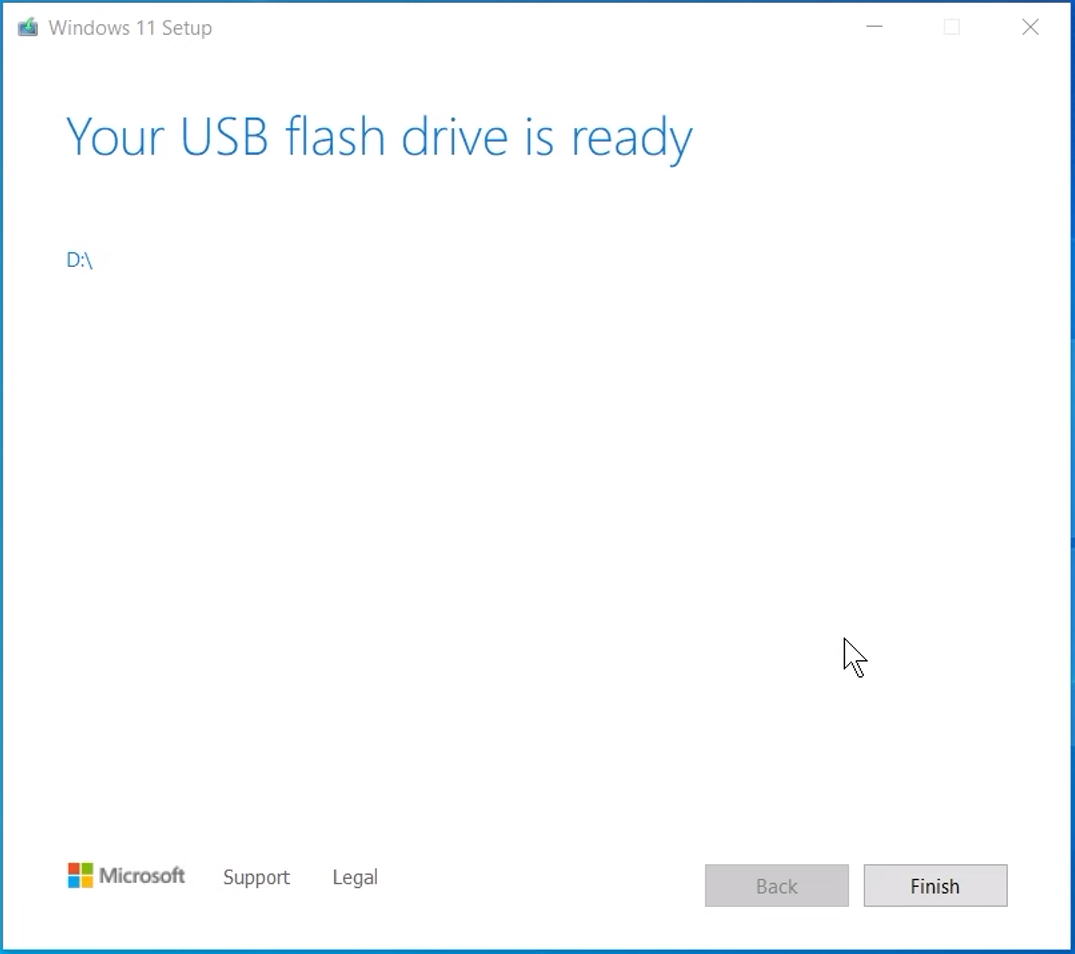
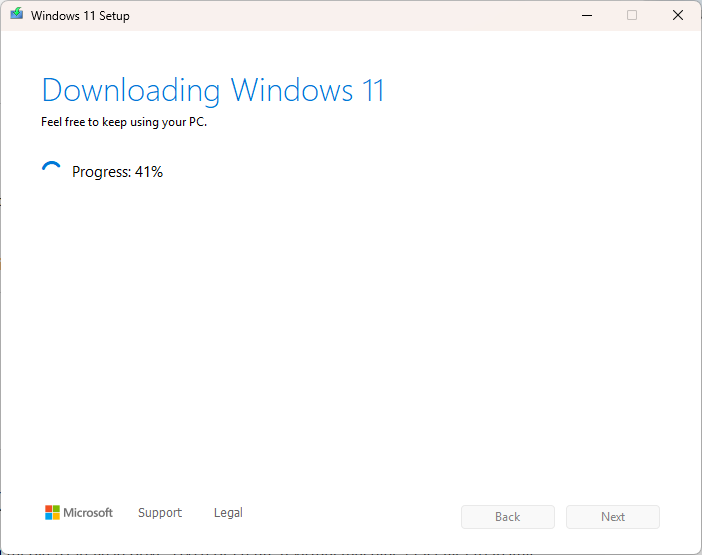
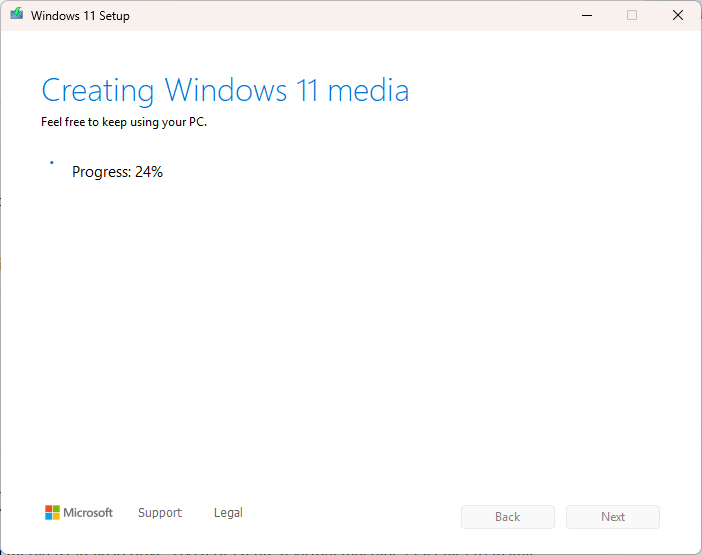
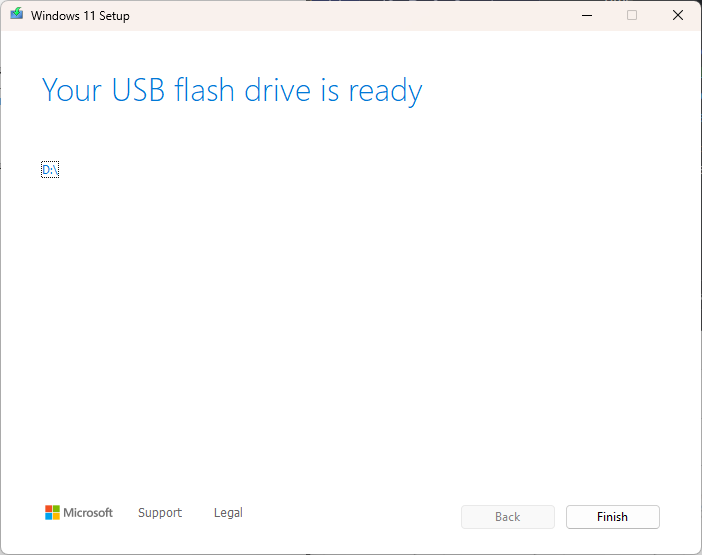
The Media Creation Tool will then download Windows 11 and create the installer automatically. This process can take 20–45 minutes depending on your internet connection. Once complete, safely eject the USB drive (or leave it inserted if you’re creating it on the target machine) and proceed to install Windows.
To begin installation, insert the USB drive into the target computer and power it on. As soon as you see the Velocity Micro logo, press the boot menu key repeatedly (F8 for Asus, F12 for Gigabyte, F11 for MSI, F7 for laptops). In the boot menu, select the USB drive from the list.
NOTE: If you see an option that includes “UEFI” before your USB drive’s name, select that one for best results.
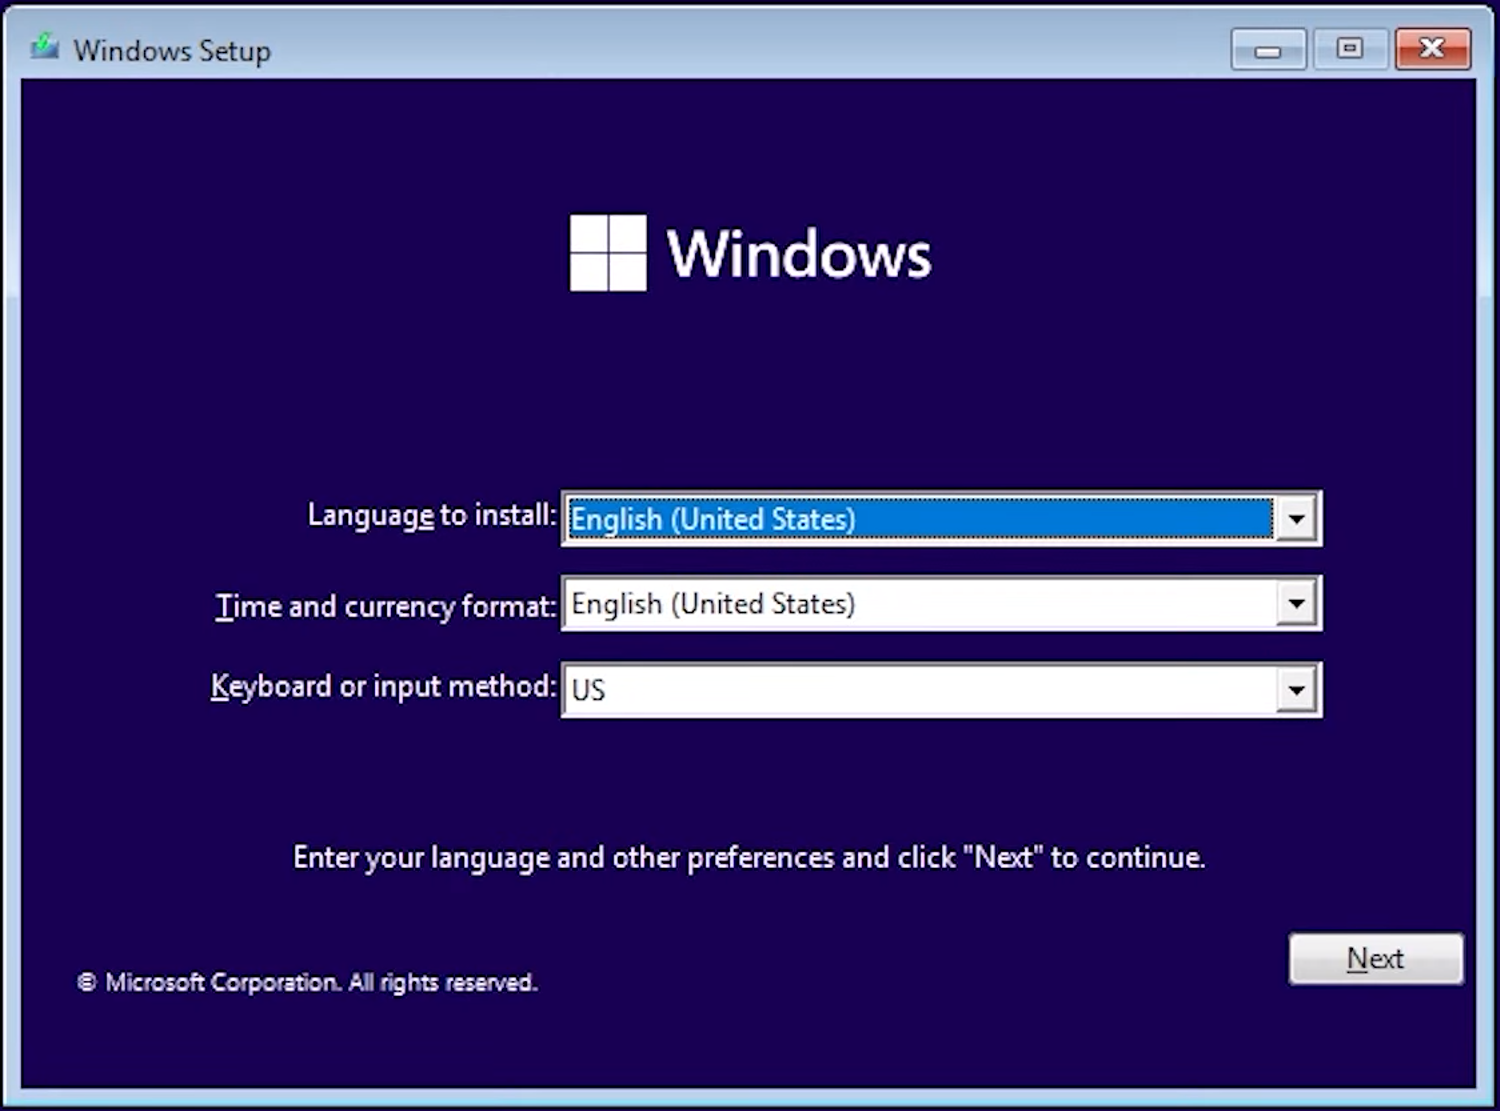
After a brief loading period, the Windows 11 setup screen will appear, asking you to confirm your language, time, and keyboard layout. Before proceeding, if you so choose, we’ll format the primary drive to ensure a completely clean installation.
IMPORTANT: The following step is only relevant if you'd like to completely empty and remove all partitions from your machine. You can also individually delete or empty partitions durring the installation process - this is detailed in the image guide below. We ALWAYS recommend having multiple backups of any crucial data on your machine before proceeding with formatting.
Press Shift + F10 to open a Command Prompt. Type diskpart and press Enter. Once DiskPart loads, type list disk to view all available drives. Identify your primary drive based on its size (for example, a 1 TB drive will appear as approximately 931 GB). Then enter the following commands, replacing X with the number of your main drive:
			select disk X
			clean
			convert gpt
			exit
This process erases all partitions and converts the drive to the modern GPT format required by UEFI-based systems. You can now close the Command Prompt window.
NOTE: You do not need to wipe secondary drives unless you specifically want to. If you have other drives in your system that contain personal files, they can remain untouched. However, if you do wish to wipe them, repeat the above diskpart steps for each drive. For drives larger than 3 TB, the convert gpt step ensures the full capacity is usable.
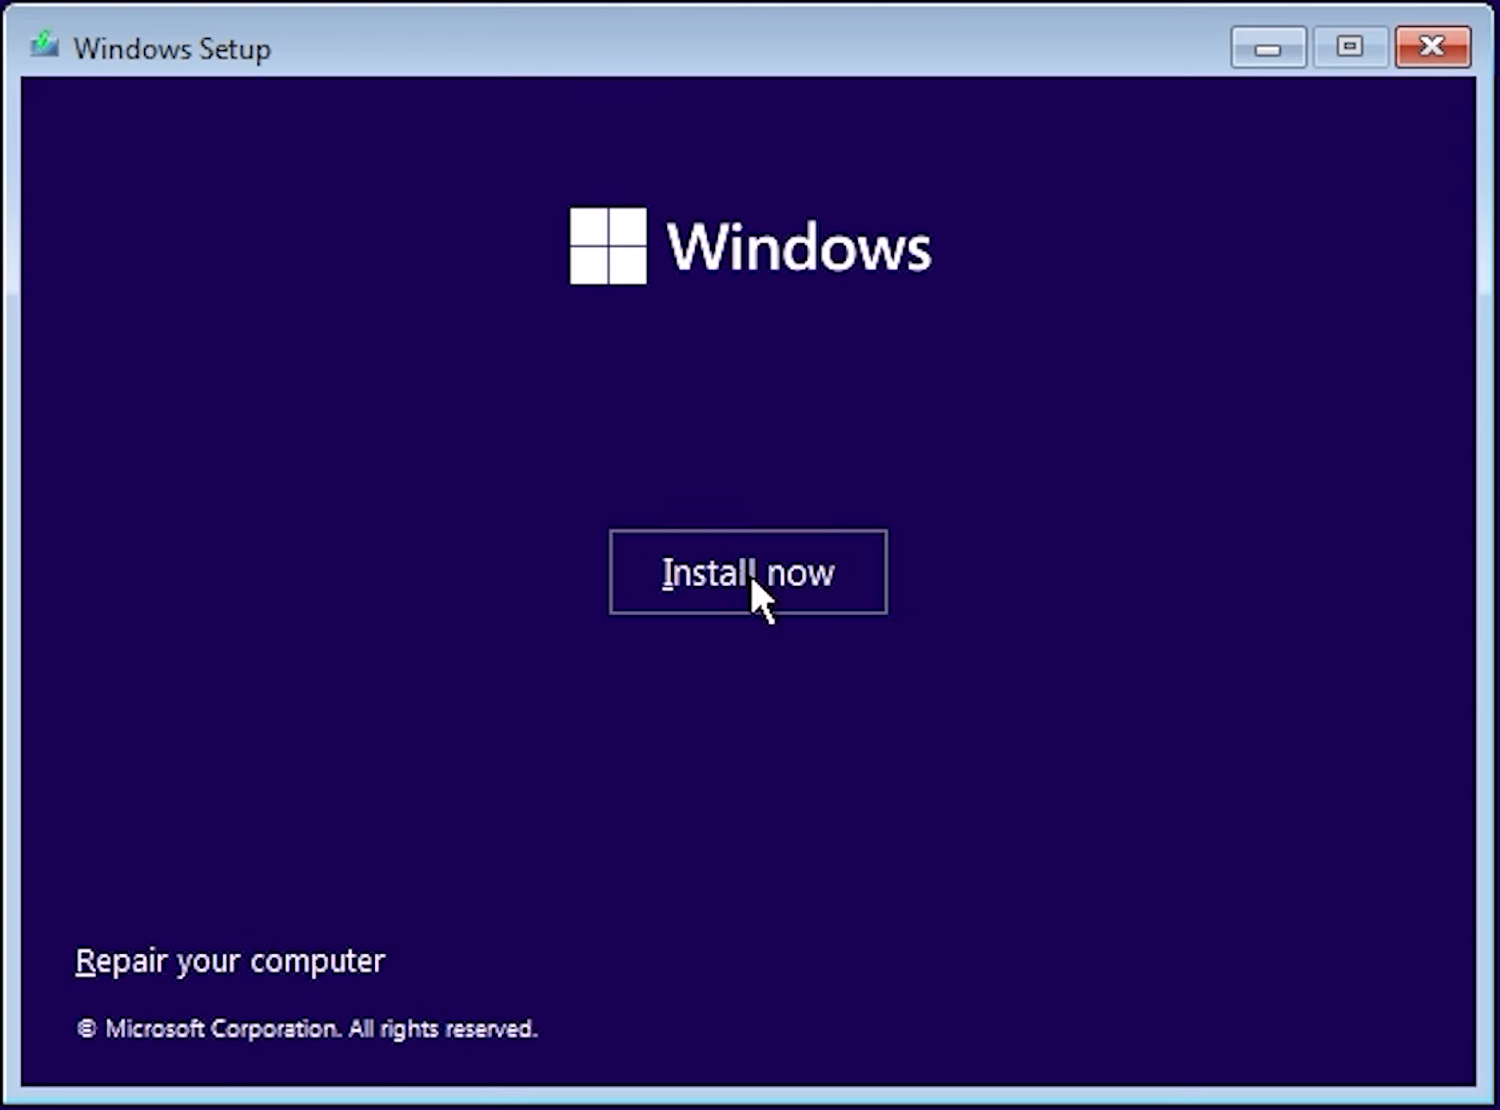
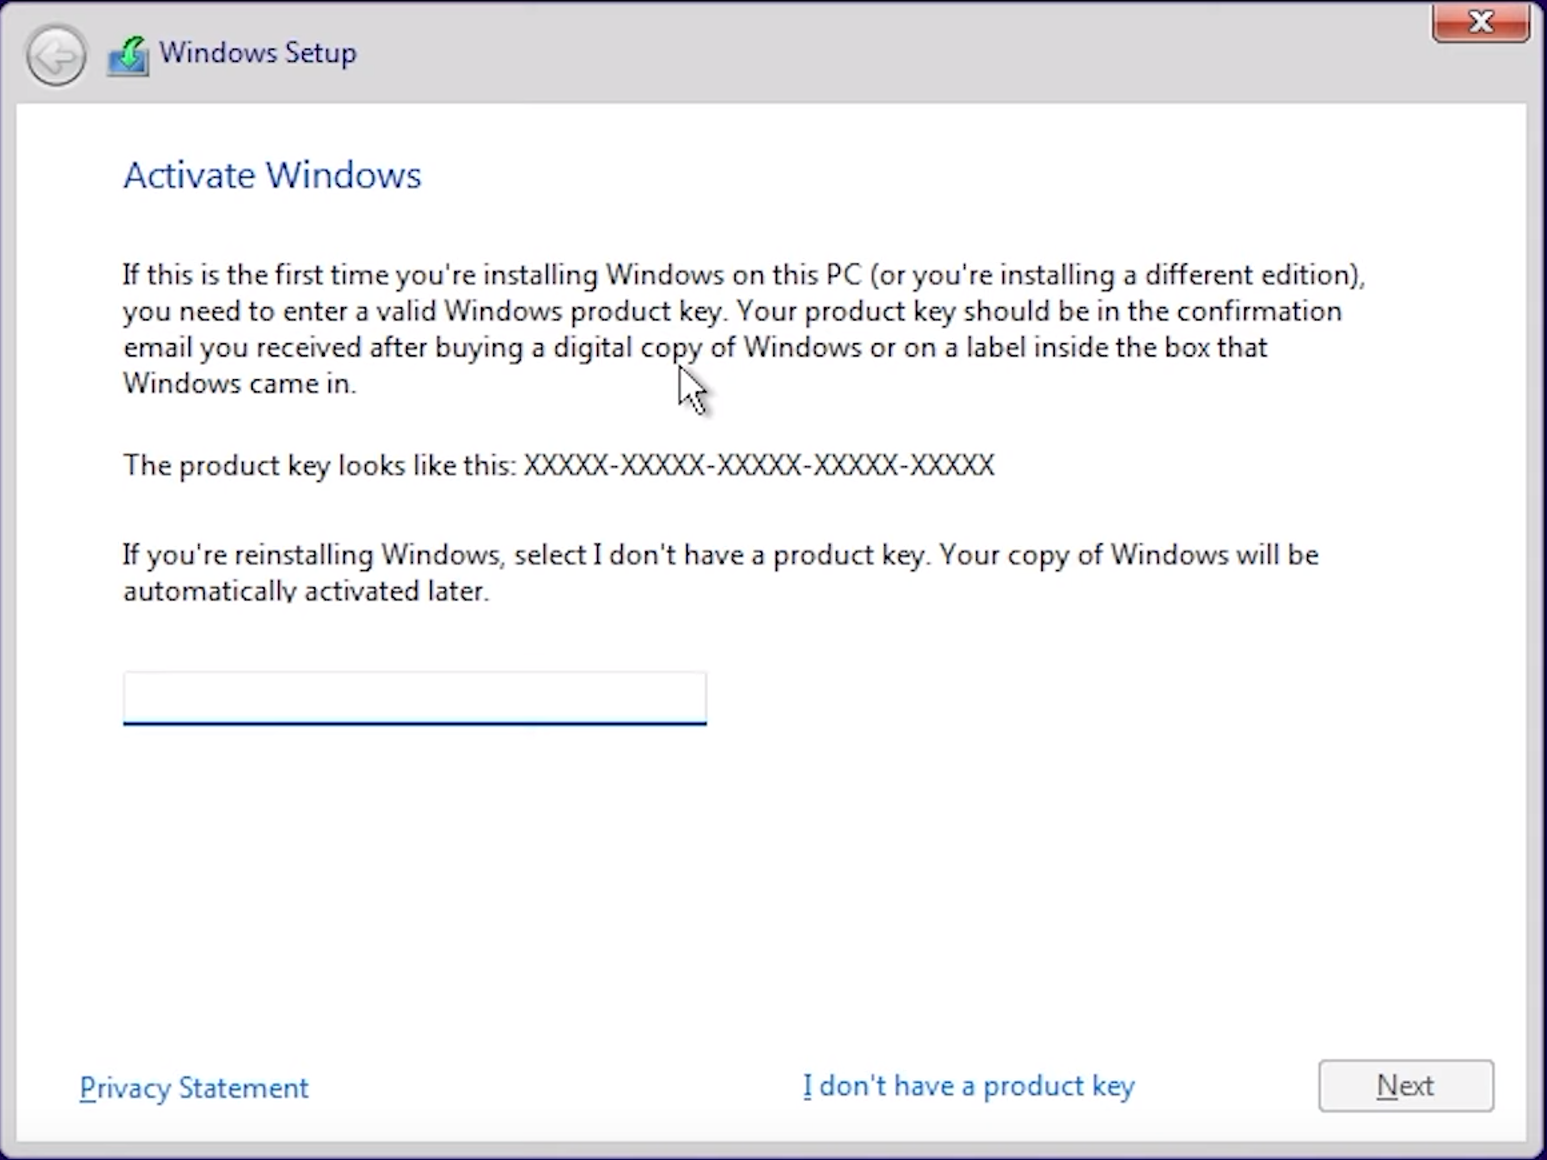
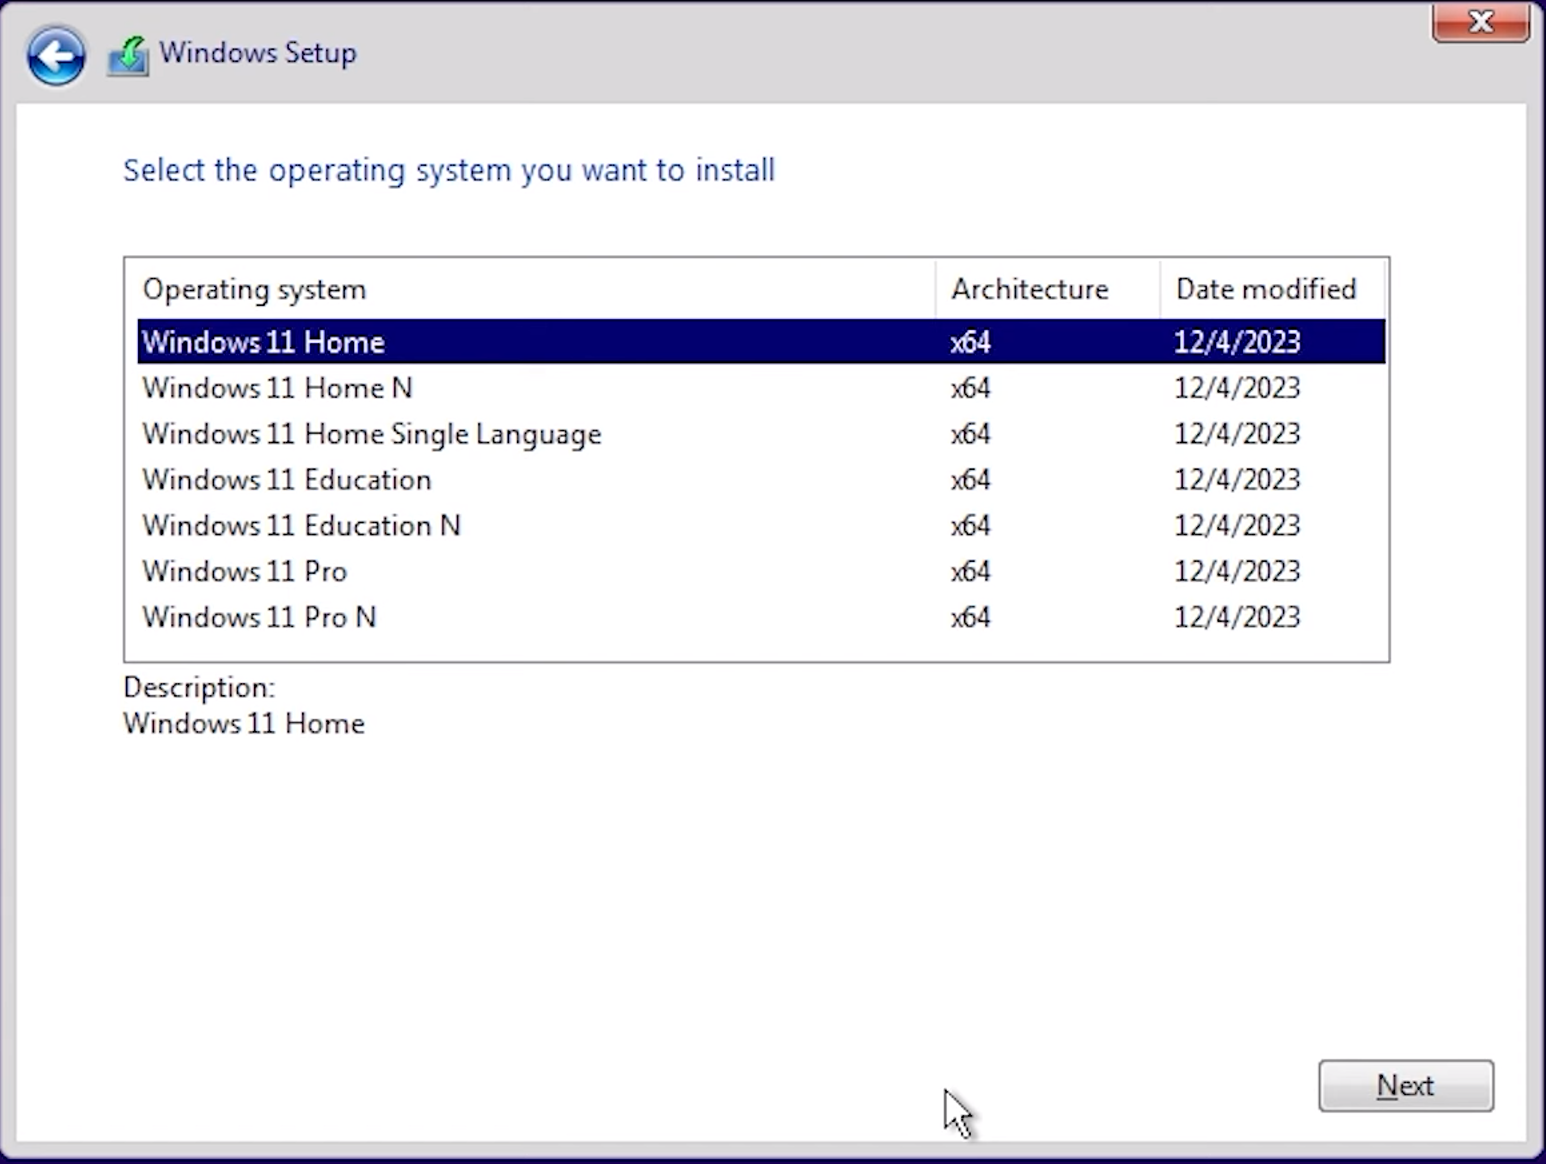
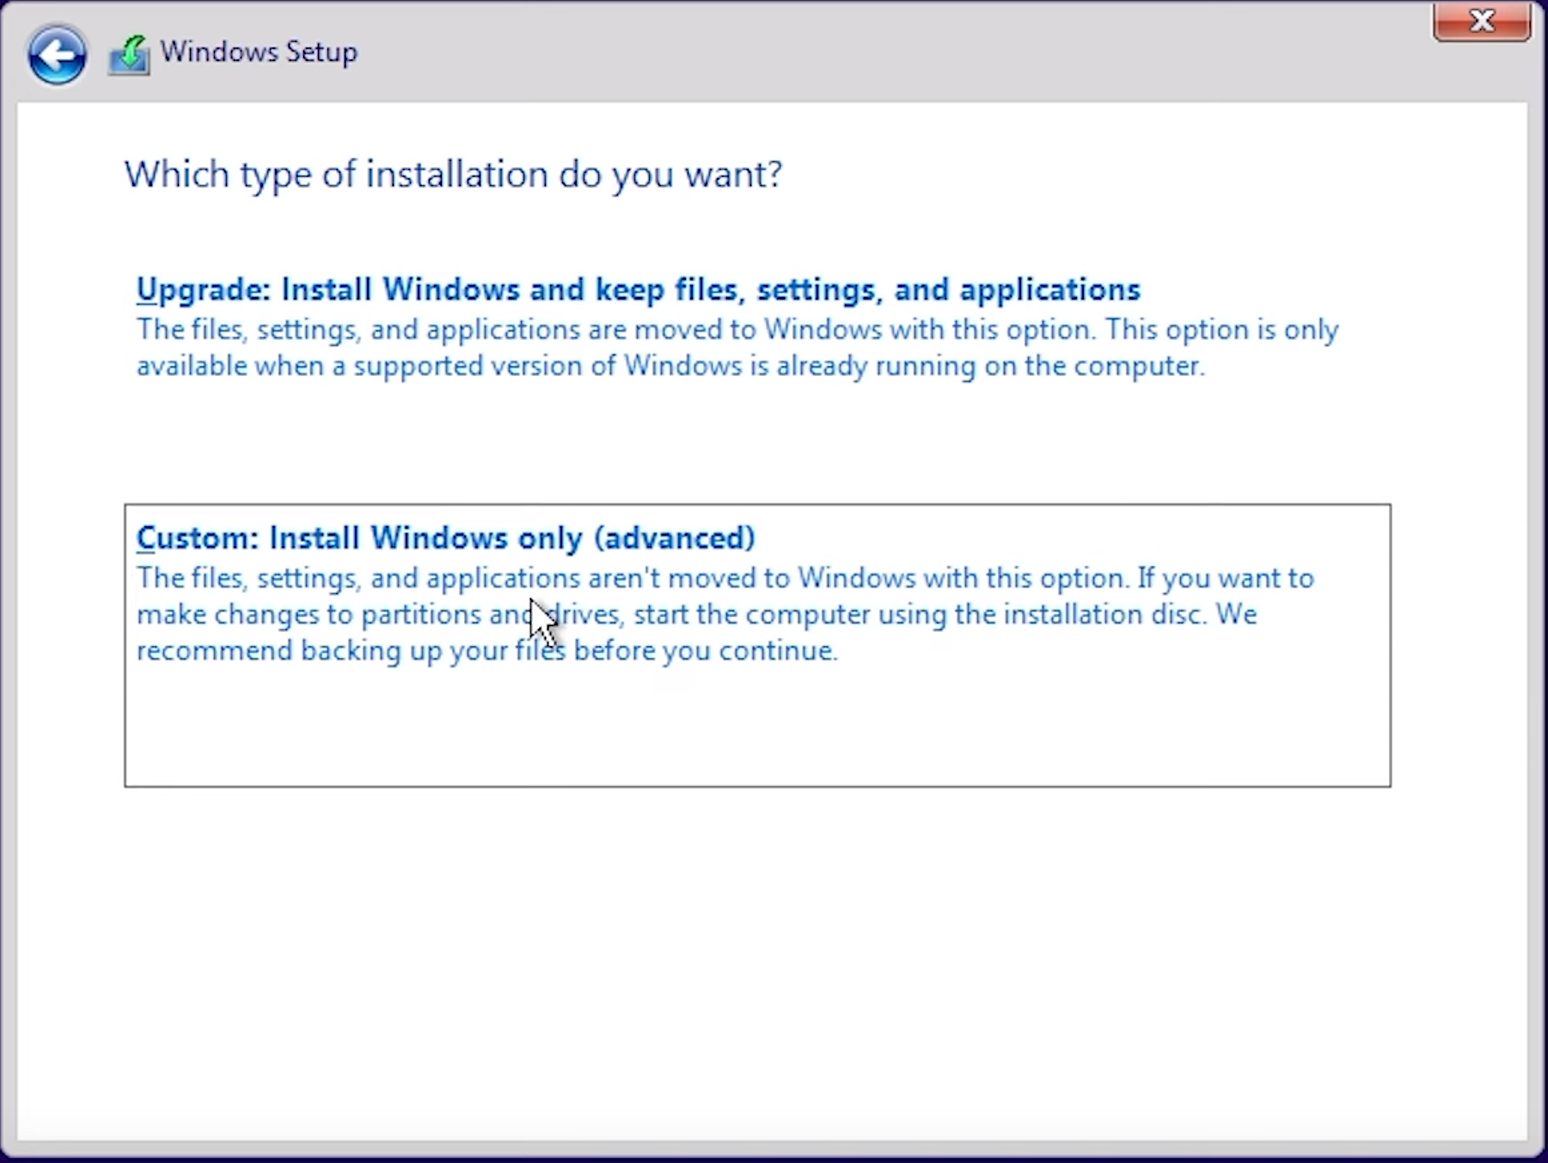
Continue with the installation. When asked for a product key, you can enter your Windows 11 activation key if you have it available, or choose “I don’t have a product key” to activate later. Select the edition of Windows 11 that matches your license (Home, Pro, etc.), then choose Custom: Install Windows only (advanced) when prompted for installation type.
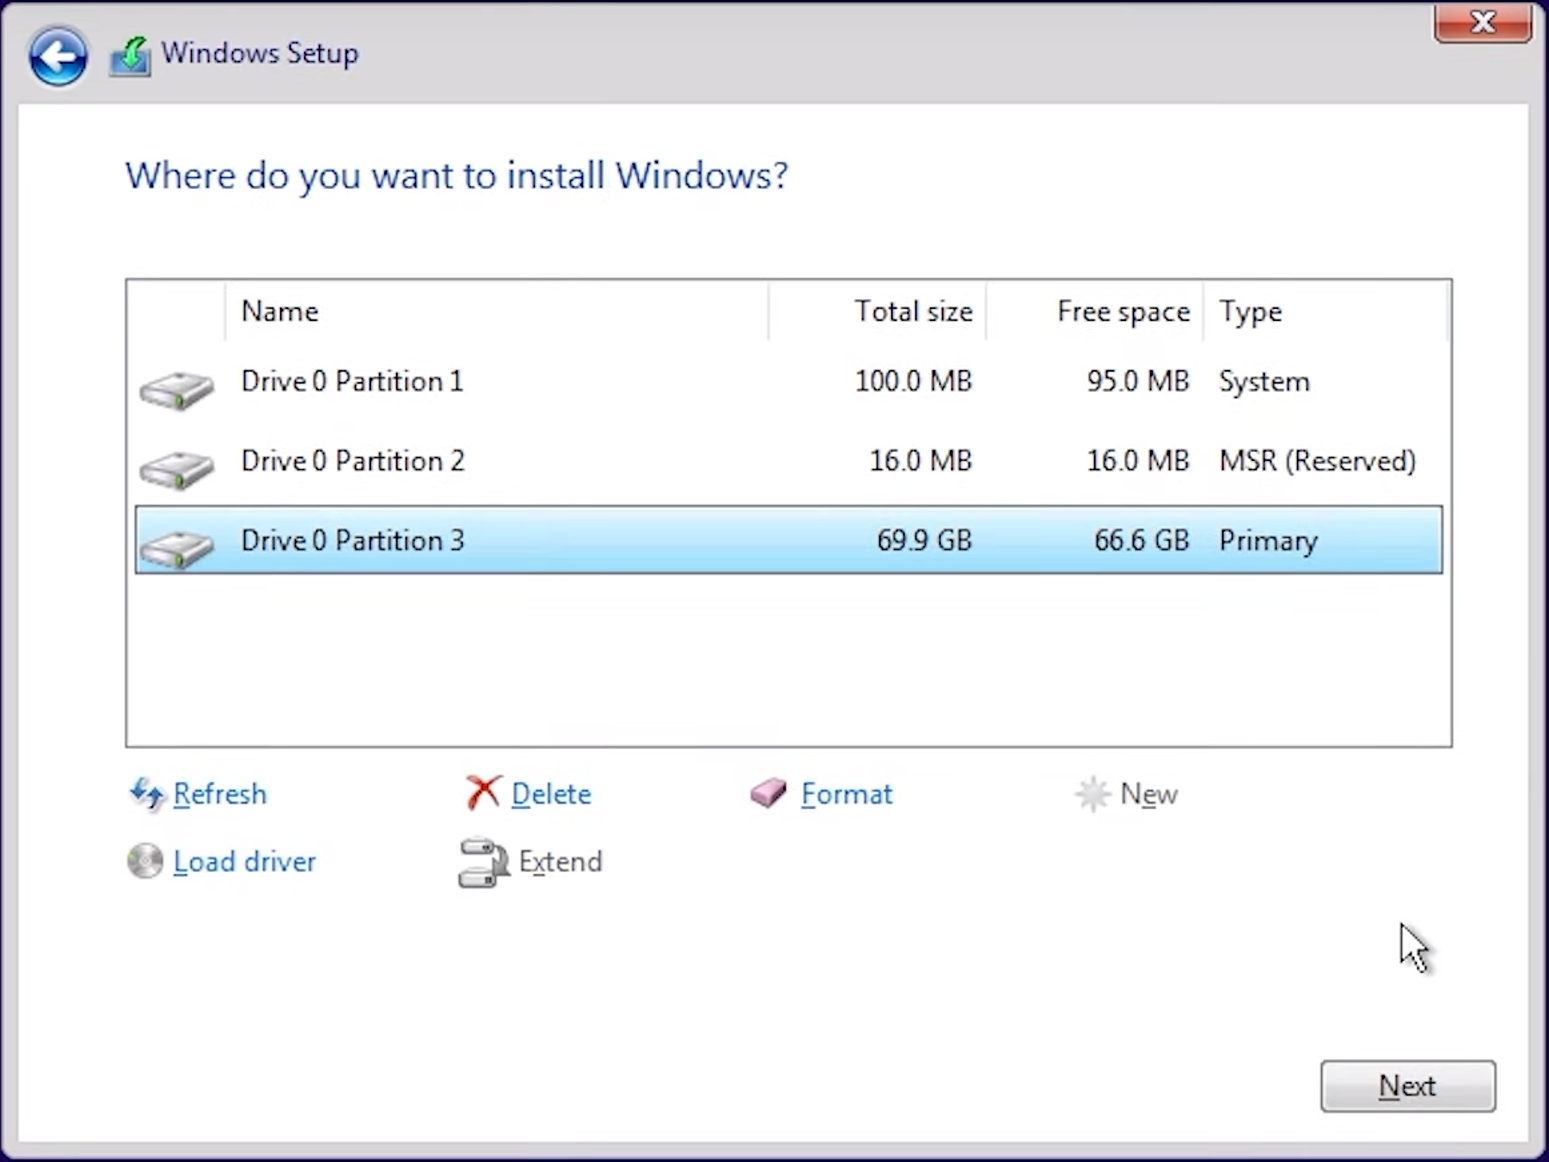
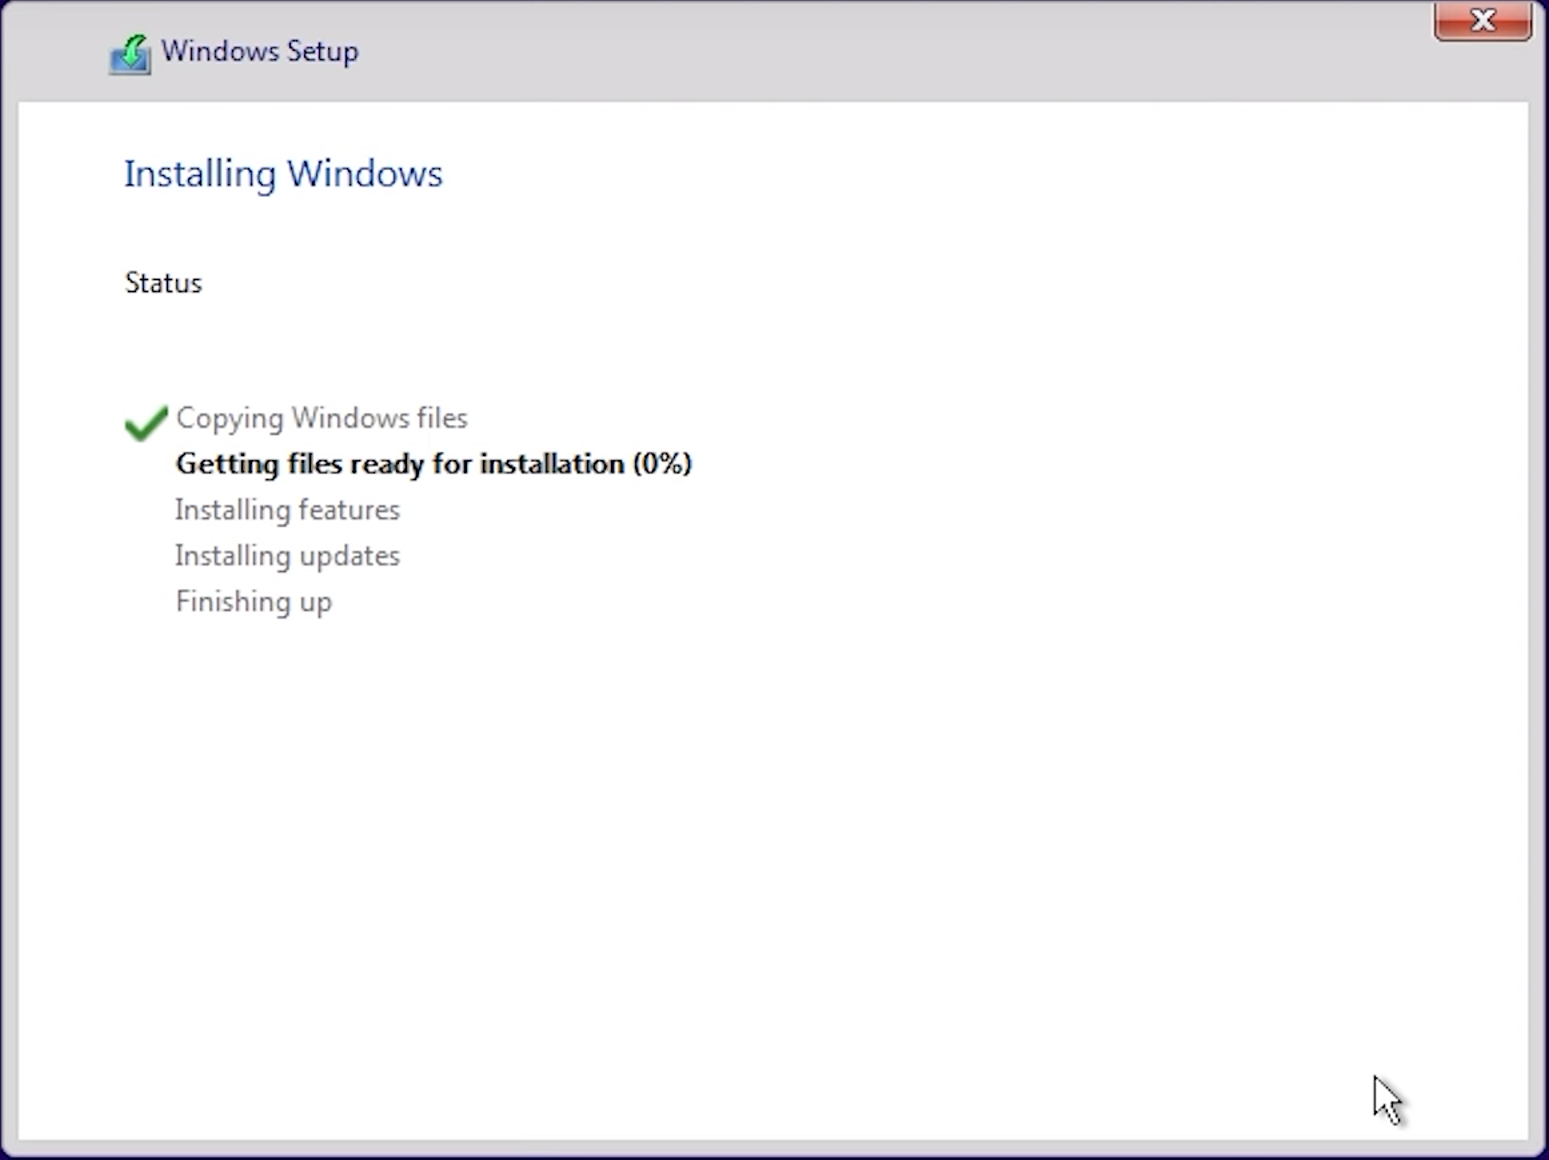
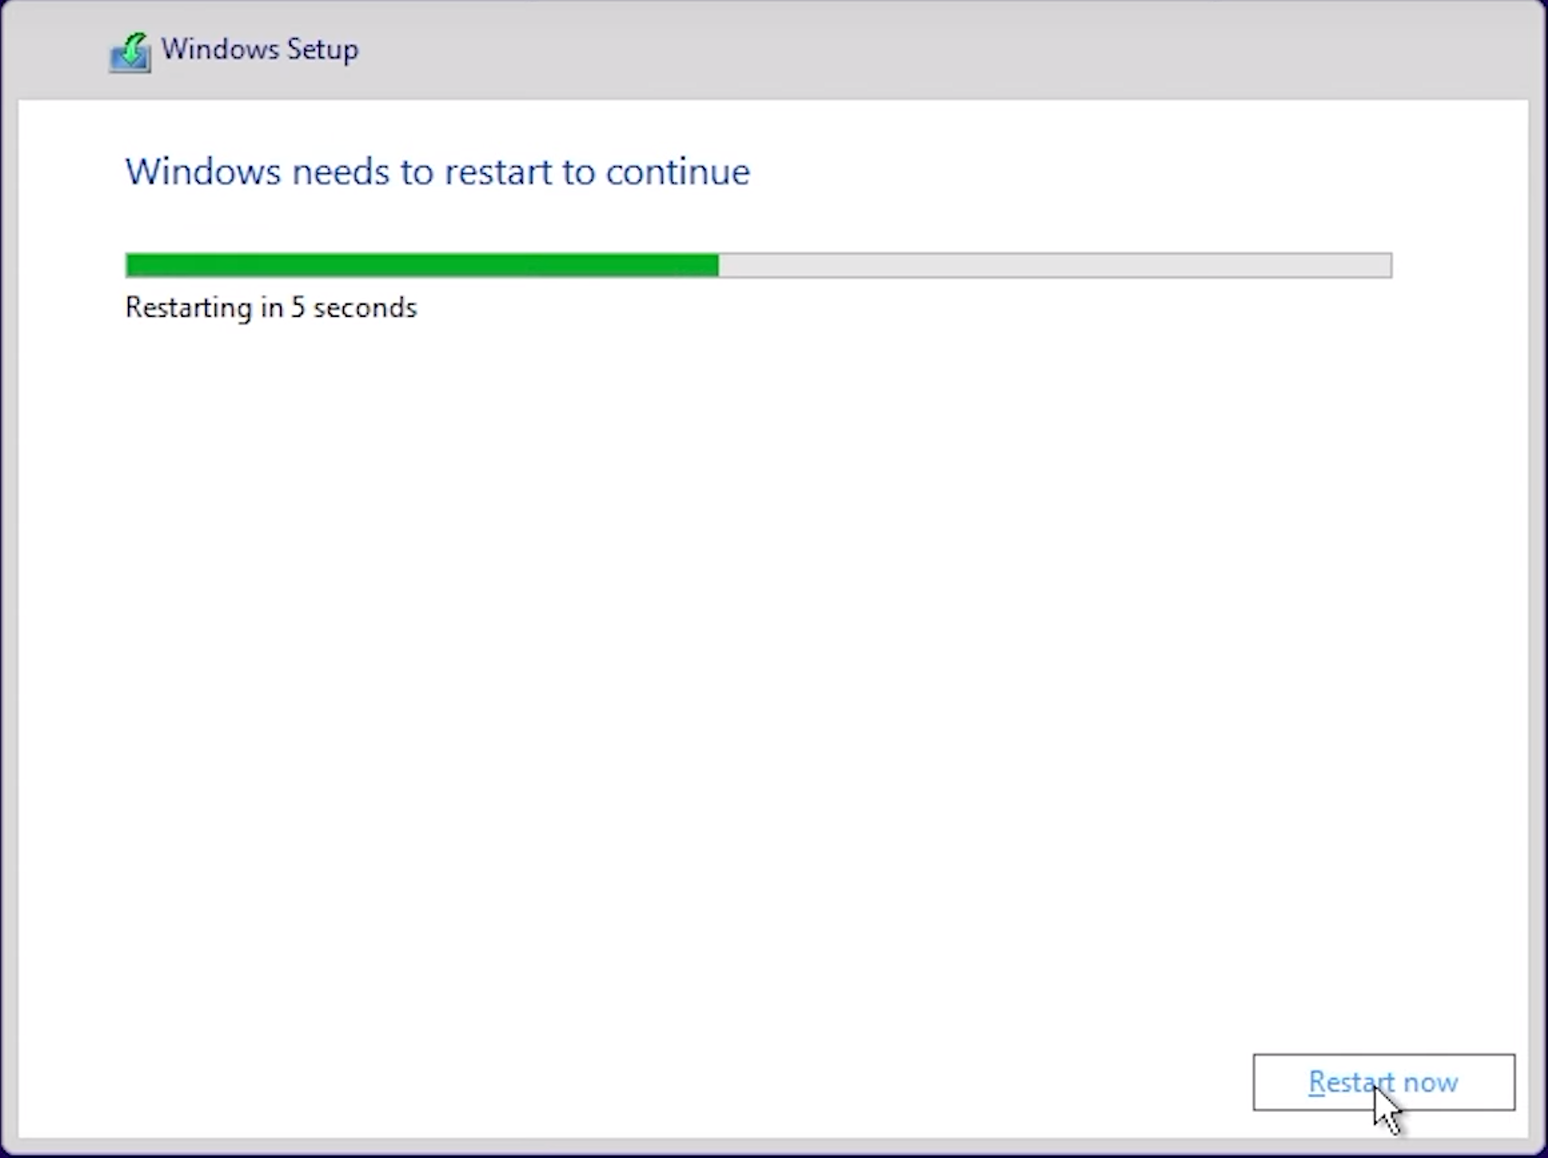
On the next screen, you’ll see all detected drives. Select the drive that now shows only Unallocated Space (the one you cleaned earlier) and click Next. The installation process will now begin. This may take 10–30 minutes depending on system performance, and your PC may restart several times.
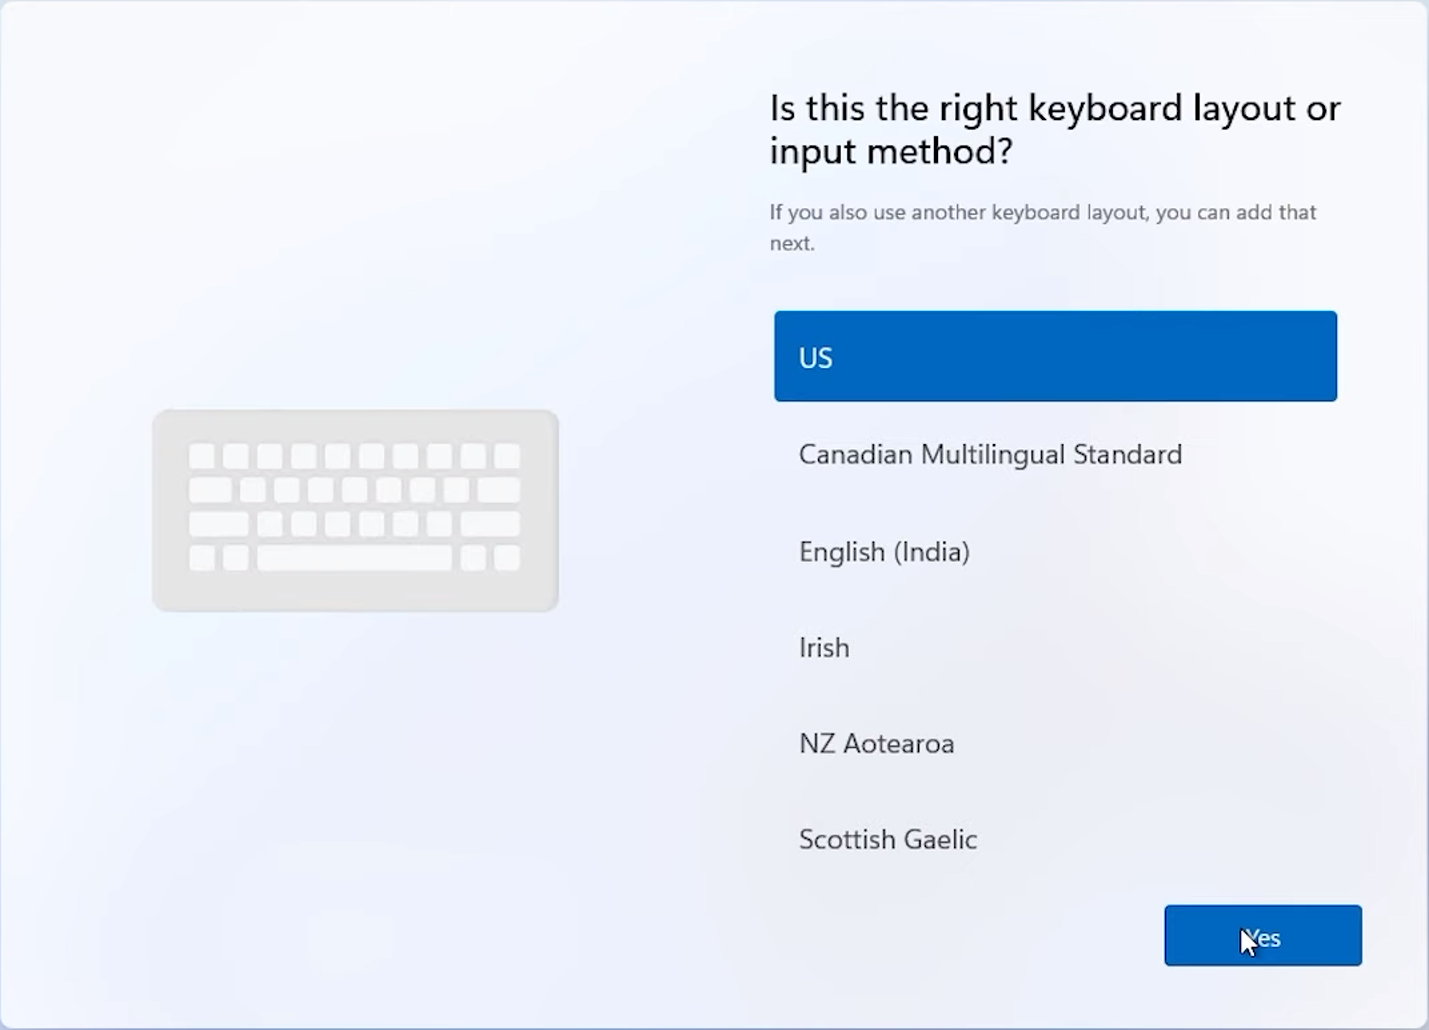
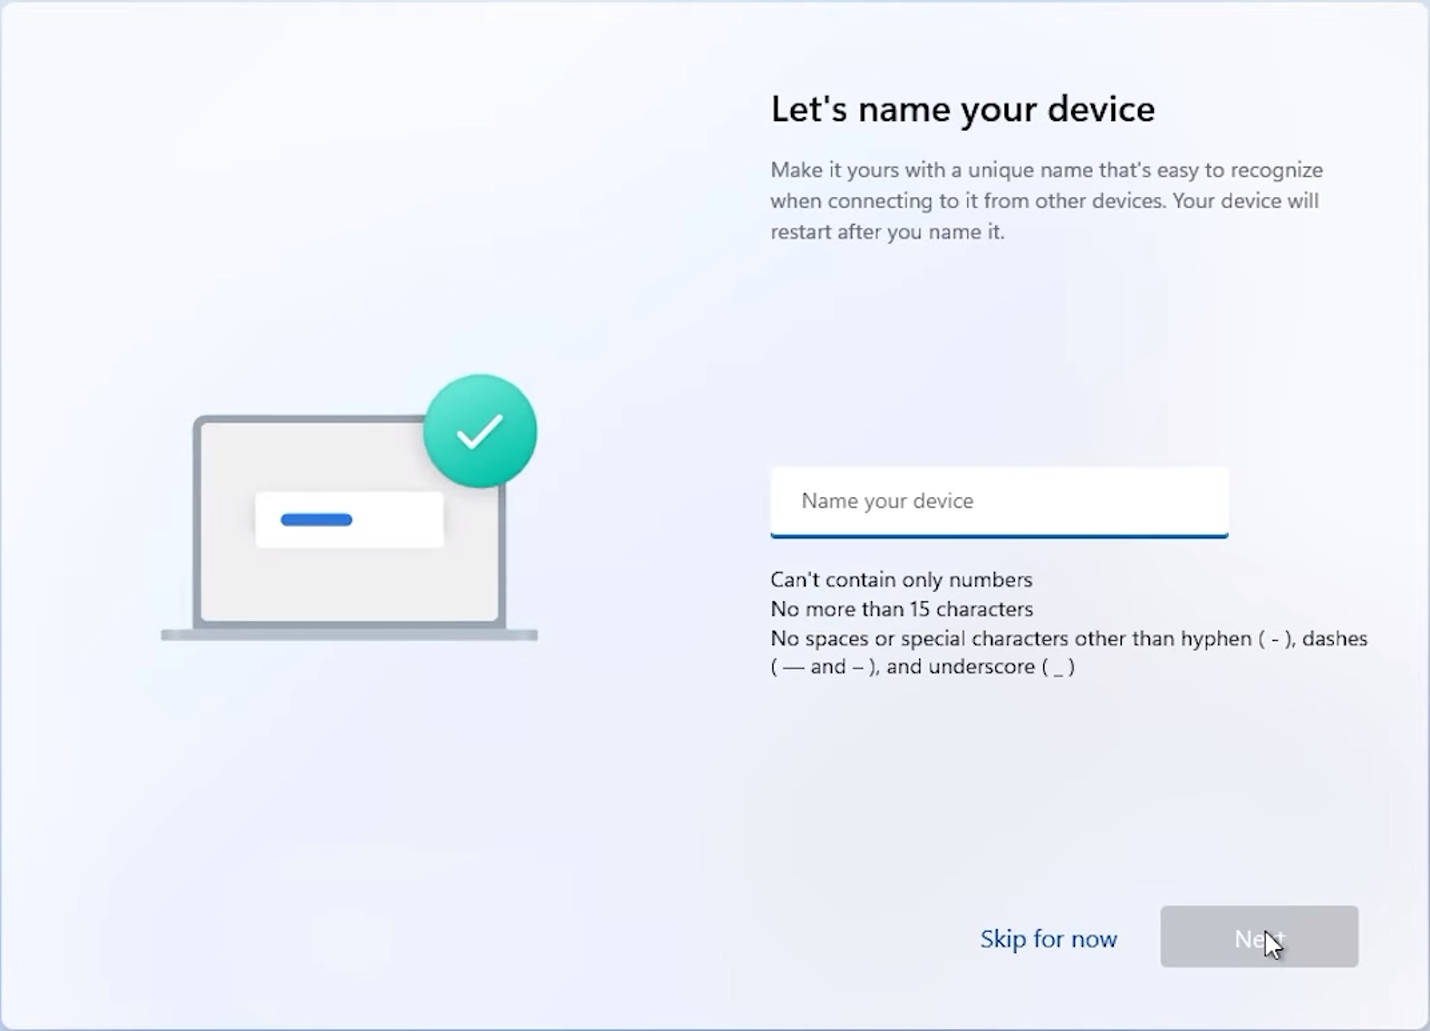
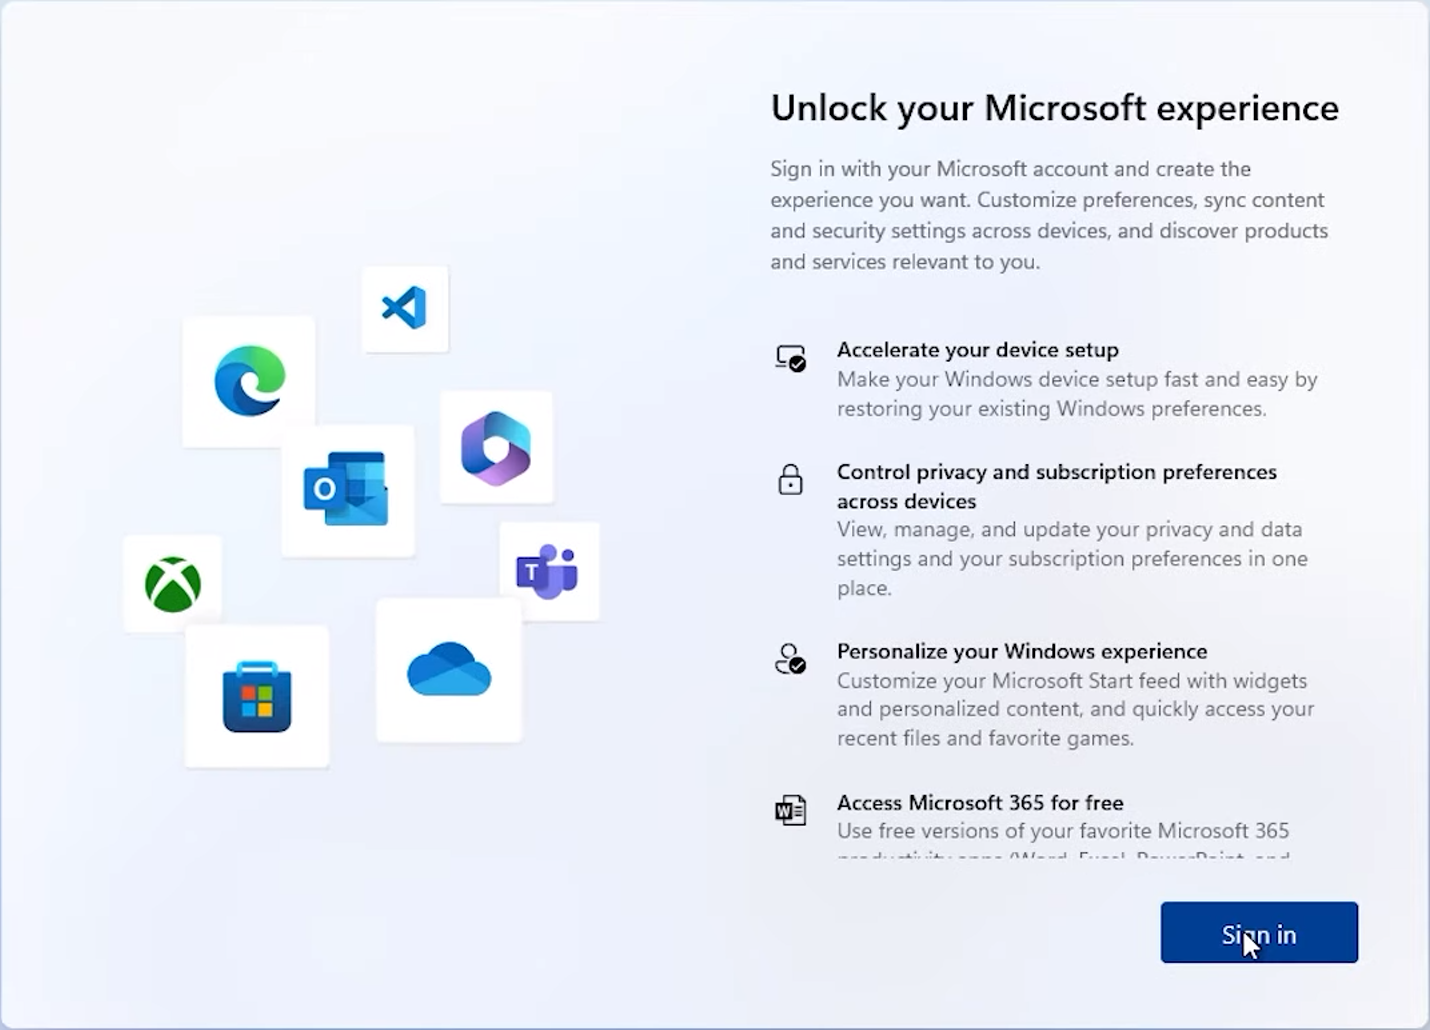
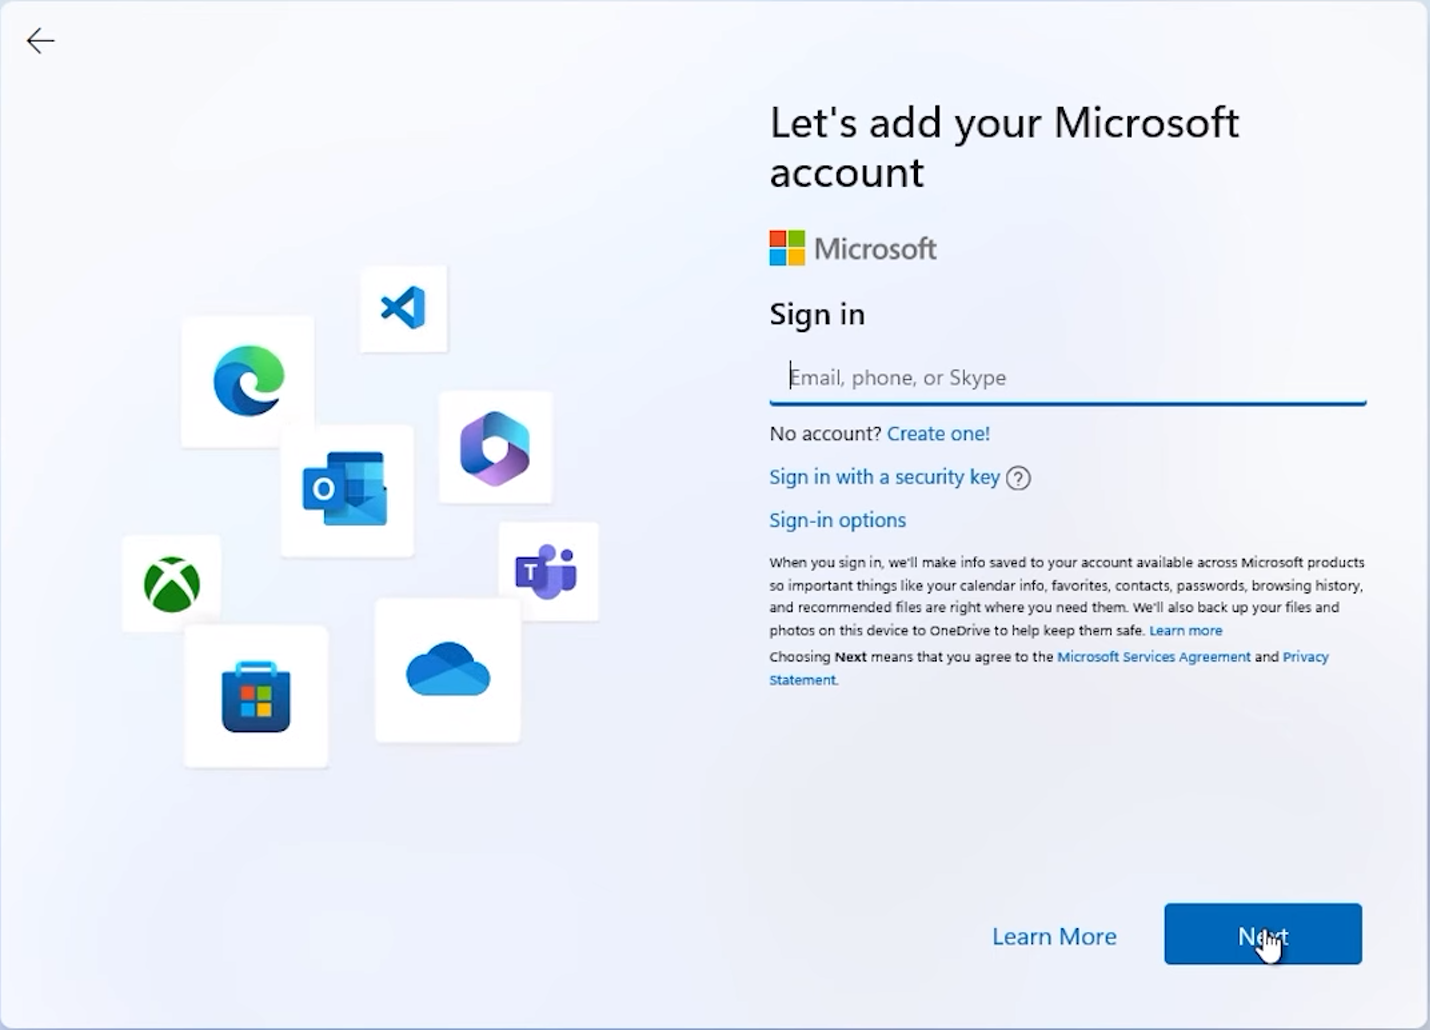
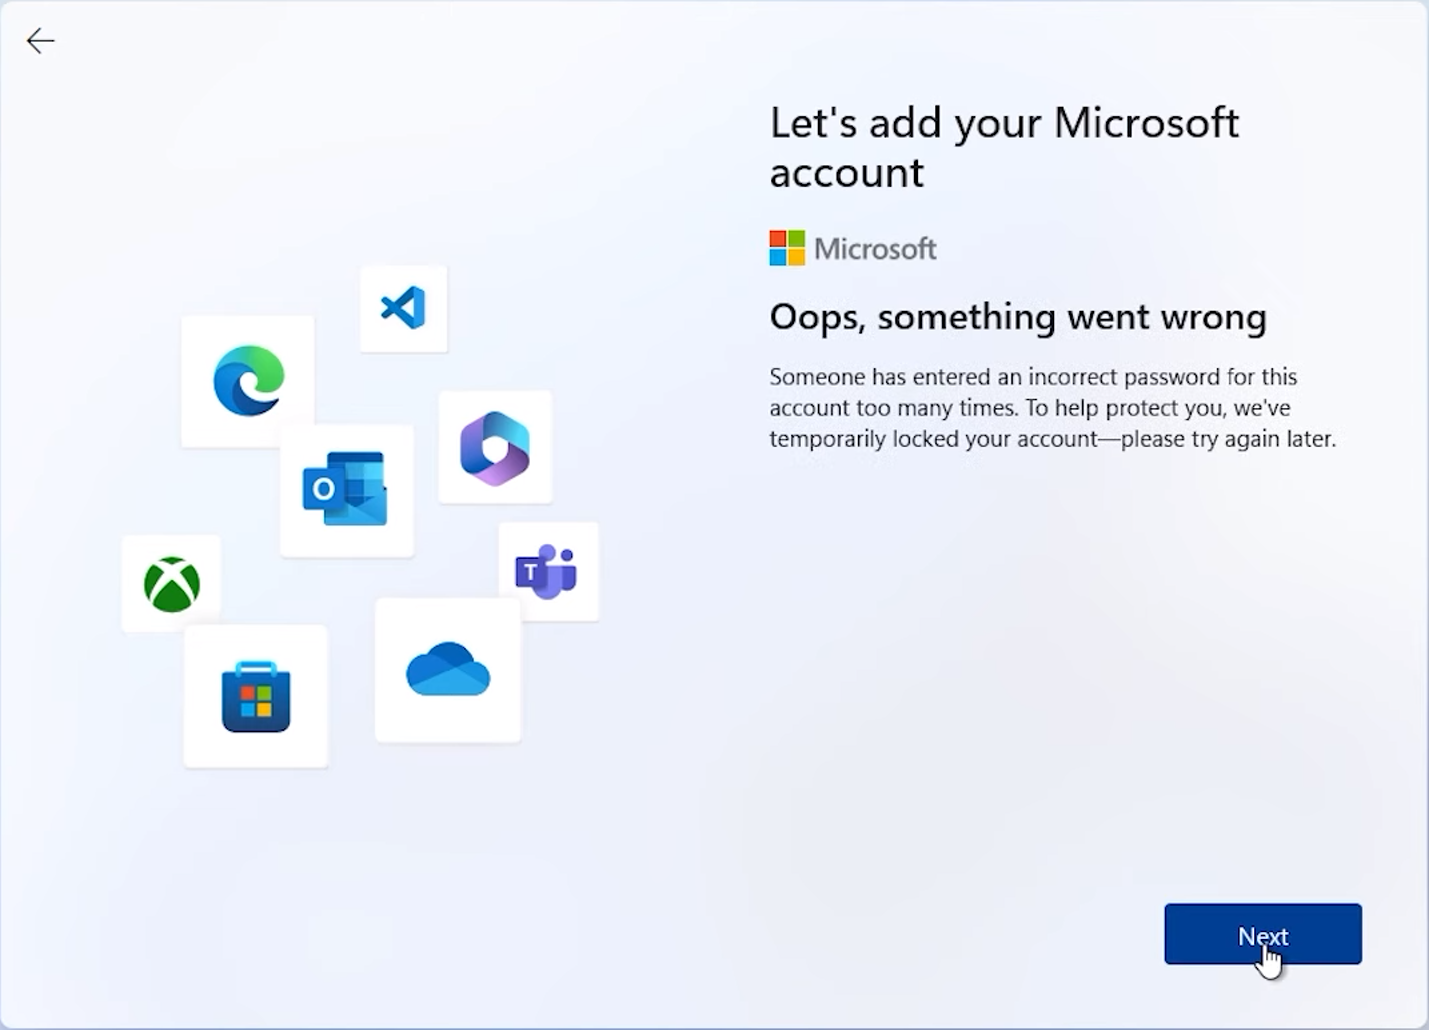
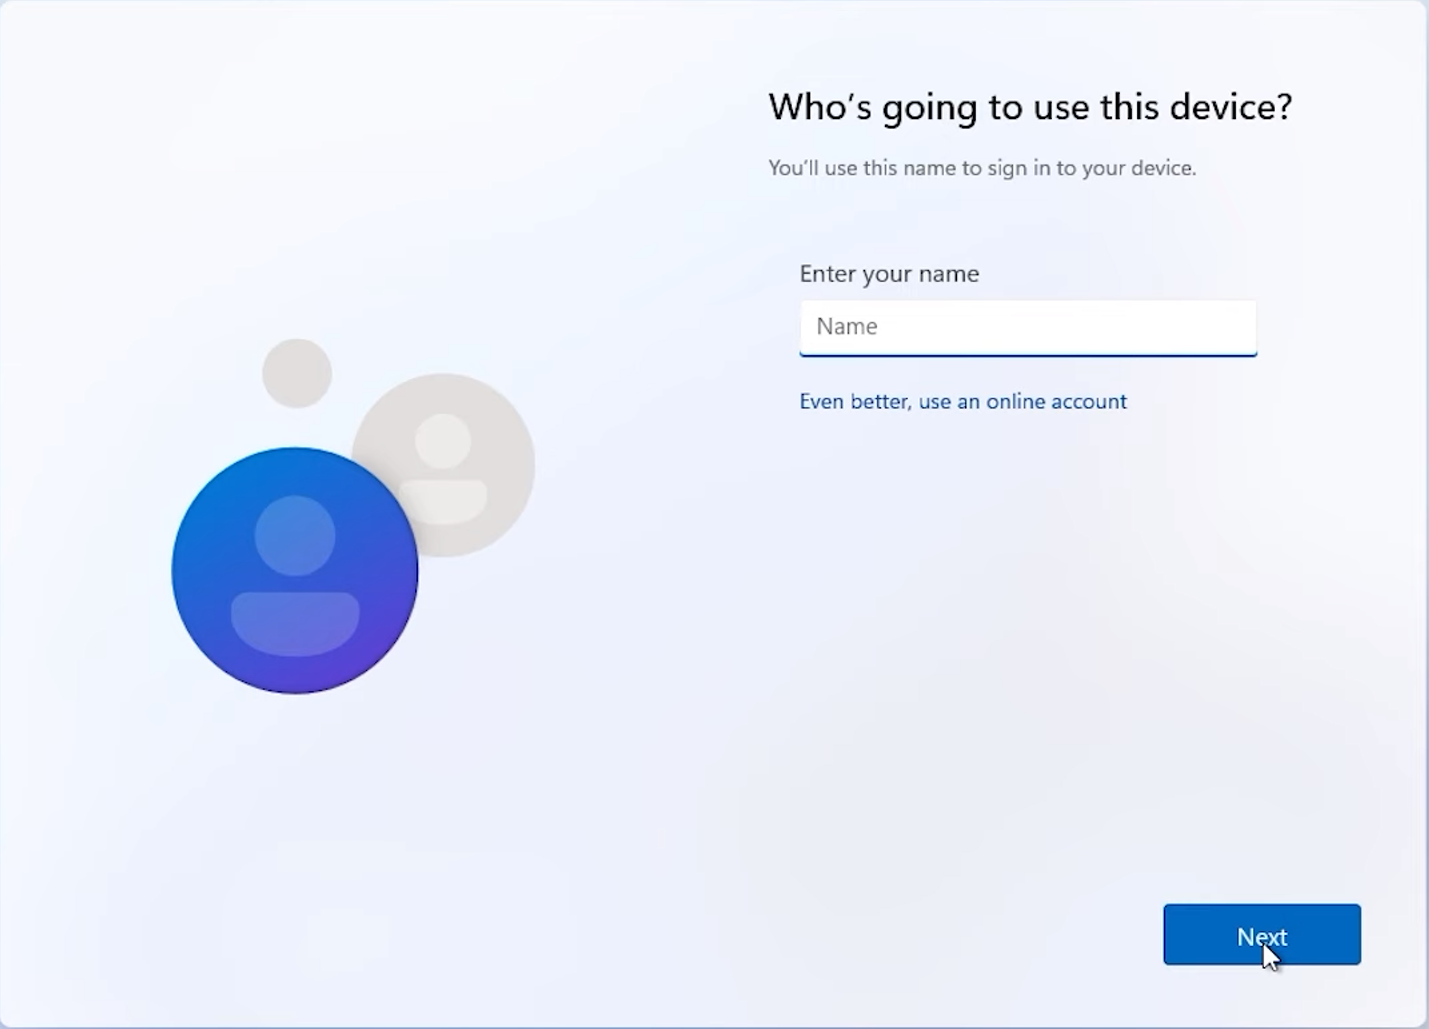
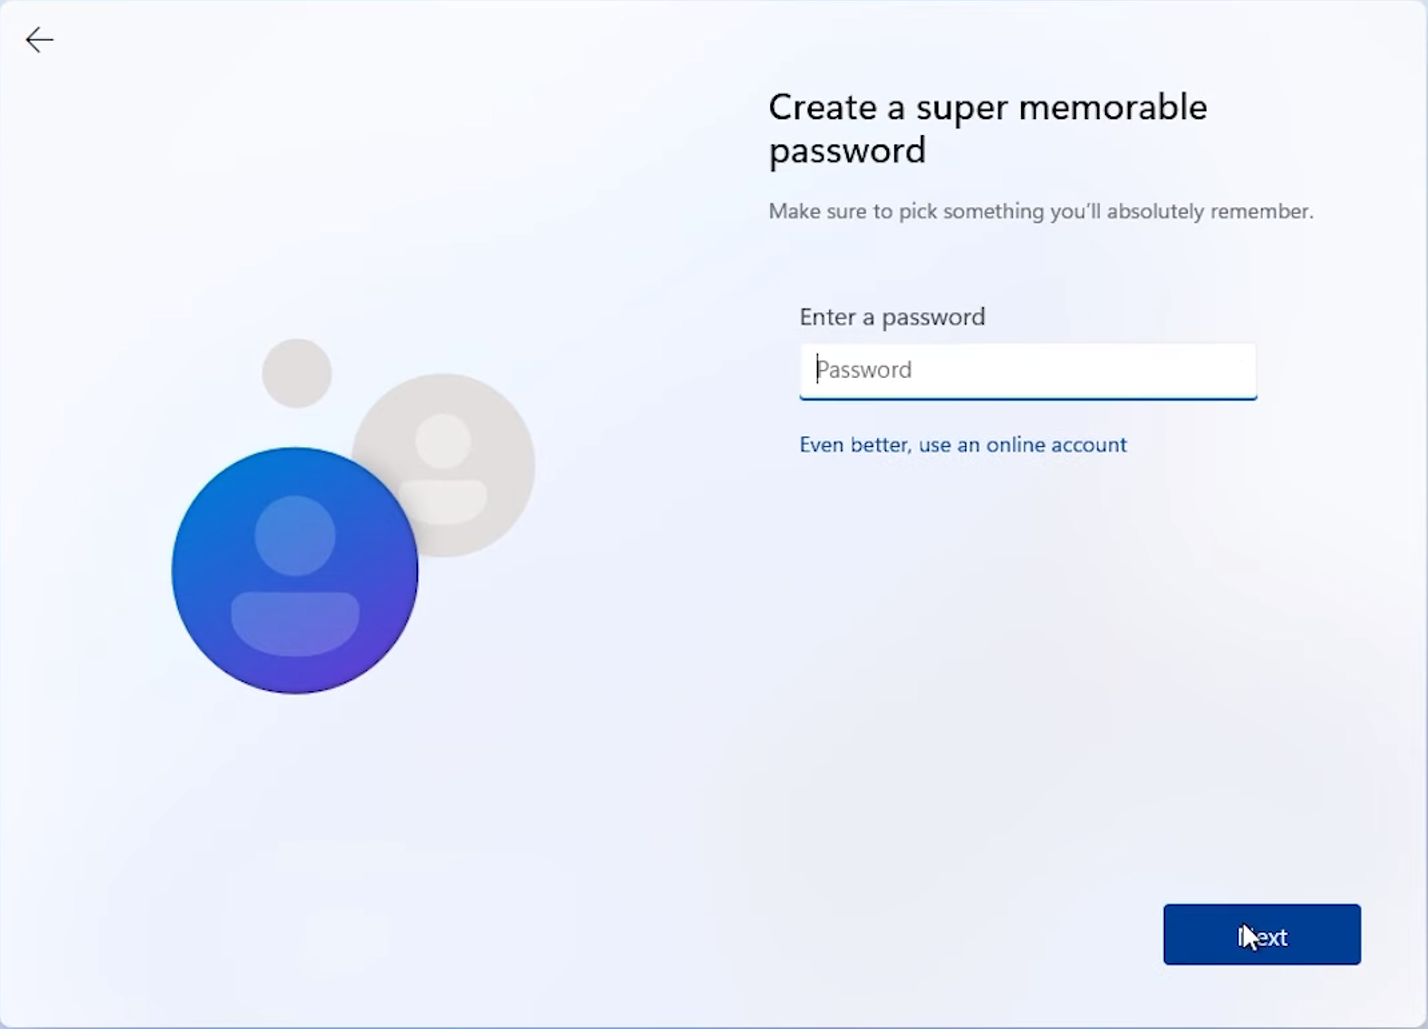
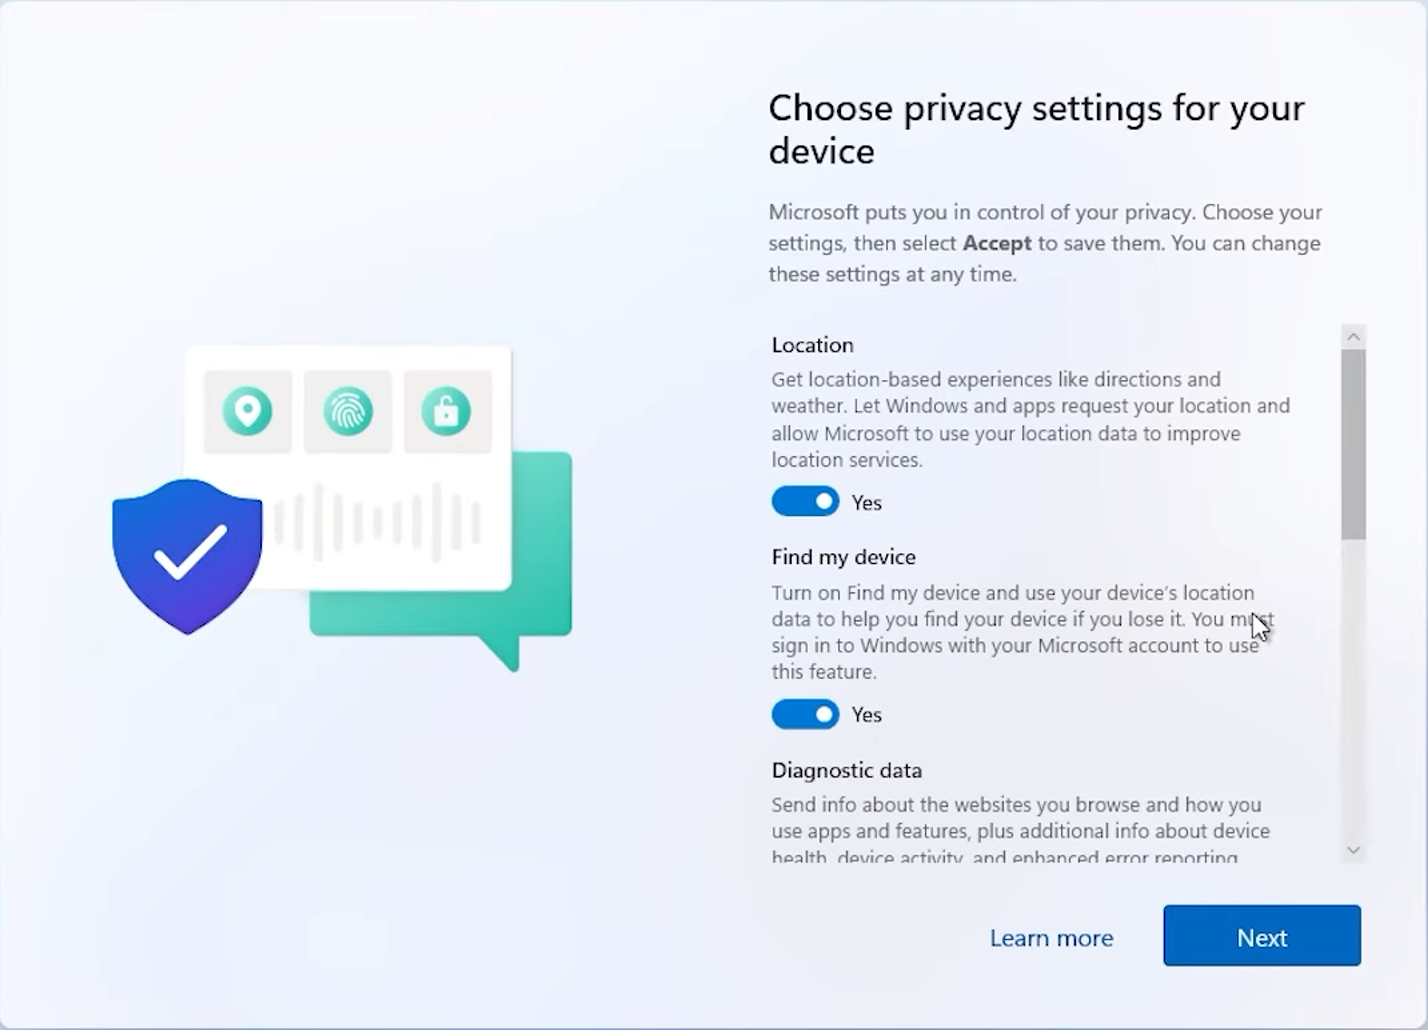
Once installation completes, you’ll be guided through the Windows 11 out-of-box setup. Choose your region, keyboard layout, and network settings. If you’d prefer to use a local account instead of signing in with a Microsoft account, you can bypass this requirement by disconnecting your PC from the internet (unplug Ethernet or skip Wi-Fi setup). When asked to sign in, enter a bogus or placeholder email such as example@example.com and a random password — Windows will then return to a screen offering the option to create an offline account. Choose that, then set your local username and password as desired.
After setup is complete and you’ve reached the desktop, install your device drivers and Windows updates. For help finding and installing the correct drivers for your Velocity Micro system, see our driver installation guide. If you have multiple drives, you may need to manually assign them drive letters in Disk Management. To do so, right-click the Start menu, select Disk Management, right-click the target drive, choose Change Drive Letter and Paths, and assign a letter.
Your clean Windows 11 installation is now complete! Enjoy a fresh, optimized system with the latest features and security improvements.
If Windows 11 Installation Fails
If your installation doesn’t complete successfully, here are a few things to check:
- Installer freezes or reboots unexpectedly: Try recreating your USB installer using a different USB port or drive. A corrupted installer is the most common cause of setup failures.
- Windows can’t find any drives: Ensure your drives are properly connected. If you’re using an NVMe or RAID setup, you may need to load additional storage drivers during setup by clicking “Load driver”.
- “This PC can’t run Windows 11” error: Verify that Secure Boot and TPM 2.0 are enabled in your BIOS. If you’re reinstalling on older hardware, make sure the motherboard BIOS is fully updated.
- Setup restarts to the installer each time: Remove the USB drive as soon as Windows restarts for the first time, so the system boots from the internal drive instead.
If the System Can’t Boot from USB
If your system does not recognize the USB installer, or you can’t access the boot menu, follow these steps:
- Check the USB port: Plug the drive into a USB 2.0 port instead of a USB 3.0 port — some older BIOS versions detect them more reliably.
- Verify the USB format: The Media Creation Tool should automatically make your drive bootable in UEFI mode. If it doesn’t, recreate the installer and ensure UEFI is selected in your BIOS.
- Access the BIOS/UEFI menu: On startup, press the BIOS key (usually DEL or F2) and confirm that “USB Boot” and “UEFI Boot” are both enabled.
- Disable Fast Boot or Secure Boot (temporarily): In rare cases, these features can prevent the USB from being detected. You can re-enable them after installation.


Why do Windows Updates and Office Updates sometimes fail to install?
The following applies to Windows 10
For reasons that are unclear, the Windows Update engine occasionally will fail to load and update services will be unavailable. When this happens, it is necessary to re-register the Windows Update engine's dynamic linked library files.
Remember to log on to a user account with administrative privileges (firewall or antivirus) and disable any security software before attempting the fix below.
Click Start > Run to open the Run dialog box. Type the first command listed below and then press enter. When registration is successful, repeat these steps continuing to the next command until all have been entered and successfully registered.
net stop wuauserv
rmdir %windir%\softwaredistribution /s /q
regsvr32 /s wuaueng.dll
regsvr32 /s wuaueng1.dll
regsvr32 /s atl.dll
regsvr32 /s wups.dll
regsvr32 /s wups2.dll
regsvr32 /s wuweb.dll
regsvr32 /s wucltui.dll
net start wuauserv
A reboot should not be required. Try Windows Update again to see if functionality has returned.
How do I burn an ISO image?
Particularly for Windows 7, it may be necessary sometimes to burn an ISO image to a thumb drive for reinstallation or troubleshooting. Fortunately, burning an ISO is a very easy process with the right software.
What is an ISO?
Before we begin, let’s go over what an ISO is first. An ISO file, also referred to as a “disc image”, is a type of file usually used for packaging a whole operating system but can be used for other types of data. They tend to be very large, usually several gigabytes in size, and despite having a lot of data stored in one file, is not actually compressed in any way.
This guide will mostly stick to burning a Windows 7 ISO, but most of this will also apply to burning ISO’s for other operating systems such as Linux. Do keep in mind that Velocity Micro does not provide any kind of support for Linux based operating systems.
If you are trying to reinstall Windows 7, you can download an ISO from Microsoft, but you will need to provide a Windows 7 key upfront before getting the download link. After it’s downloaded, you will need to download a tool to write (sometimes called “burning”) the ISO to the drive. There are two utilities that we recommend, depending on your needs. The first is called Rufus and is generally for more advanced users or for specific use cases which we’ll go over later. The second is a newer program called Etcher, which is far easier to use but does not have as many features. Both are free to download and use.
Rufus vs. Etcher
Before going over the differences, let’s go over why you may need to use Rufus rather than Etcher. It mostly pertains to reinstalling Windows 7 on an older system. Newer motherboards use UEFI firmware for the BIOS rather than legacy BIOS firmware. Newer operating systems use UEFI by default and should always be installed in UEFI mode. Older boards are not UEFI compatible and will not boot a UEFI OS. This is important because even though Windows 7 can install in UEFI mode, it doesn’t support UEFI very well and is generally a pain to install. This is why we would use Rufus in this particular case. Rufus allows you choose to make the thumb drive either UEFI compatible or legacy BIOS compatible.
So now let’s get into how to use Rufus. After downloading it go ahead and run it. Rufus does not need to install to run. At first glance it looks daunting, but you will only need to change two or three options and leave the rest of the settings alone. The first box lets you choose which device you want to write to. By now you should have already downloaded your ISO of choice, so click on the little disc icon on the lower right-hand side to bring up the file browser. Choose the ISO file you want to burn. This is the point where if you are using a system that does not use UEFI you will need to choose the correct partition type. In the second box from the top there are three options available; GPT for UEFI, MBR for UEFI or BIOS, or MBR for BIOS. If you are using a system that does support UEFI, always use GPT for UEFI, otherwise use MBR for BIOS for systems that do not. Once you’ve selected which to use you can leave all the other settings as they are and then press start. You will be asked if you want to write in ISO mode or dd mode. Always use ISO mode and confirm. Remember, this will wipe all data on the drive. Depending on the size of the ISO it may take some time, but once it’s done you can safely remove the drive and use it as needed.
If all of that sounded too complicated or you know you don’t need to have legacy BIOS support, then Etcher is the program for you. Etcher is very easy to use; simply select the ISO file you want to write, the drive you want to write to, and click flash. Then eject the thumb drive and use as needed.
Windows isn't activated, or has become de-activated
Windows suddenly becoming de-activated is an issue with the most recent Windows feature update. Follow the steps below for a permanent fix.
Re-activating Windows
- Locate your Windows activation code, this will be one of the stickers that we place on your systems chassis. This sticker has a holographic Windows logo and a code that is 25 characters in length. For Desktop computers, this will be either on the back panel near the USB ports, or on the solid side panel. For laptops, this will be on the bottom of your system.
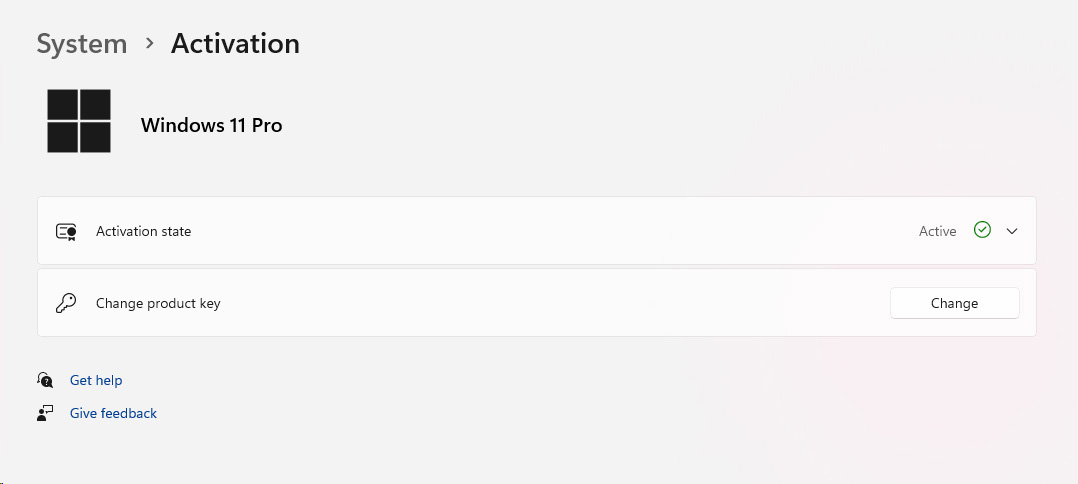
- Navigate to your system settings by right clicking the blue Windows Icon at the bottom of your screen and selecting "Settings". Now navigate to the "System" tab on the left edge of the new window. About half way down the system settings, you will find "Activation". In the activation settings, there is an option for "Change product key" click on "Change" next to it.
- Follow the instructions on the prompts and type in your 25-character long code we located earlier into the box. If you have a Microsoft account associated with your machine, it may have you log in and save you from typing in the 25-character long code.
How to update to TPM 2.0 for Windows 11 Installation
Before installing Windows 11, you'll need to have TPM 2.0 enabled. Nearly all modern motherboards come with TPM 2.0 already enabled, but many may still need to activate the setting within the system's BIOS. This process is slightly different from motherboard to motherboard. Here, we'll cover how to enable TPM in Intel and AMD chipsets for Asus (Republic of Gamers), AsRock, and Gigabyte (Aorus) motherboards.
For all motherboards, you'll need to enter the system's BIOS. You can do this by pressing the delete, escape, or F2 key on your keyboard as your system is booting. Your system may inform you of the key to press on the screen displayed while booting, though you may press all 3 keys to no adverse effect.
Asus Motherboards
AMD Chipsets

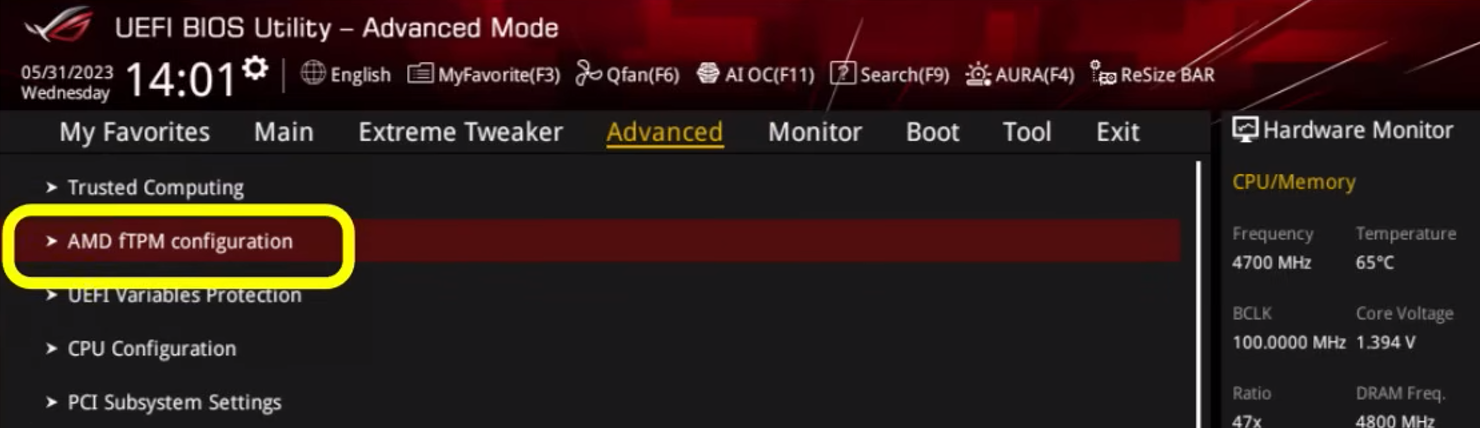

1. From the BIOS main menu, navigate to Advanced.
2. Within the advanced menu, click on "AMD fTPM configuration".
3. Navigate to "Firmware TPM switch". Click the dropdown and click "Enable Firmware TPM".
4. Exit BIOS and boot your system. TPM 2.0 should now be enabled.
Intel Chipsets
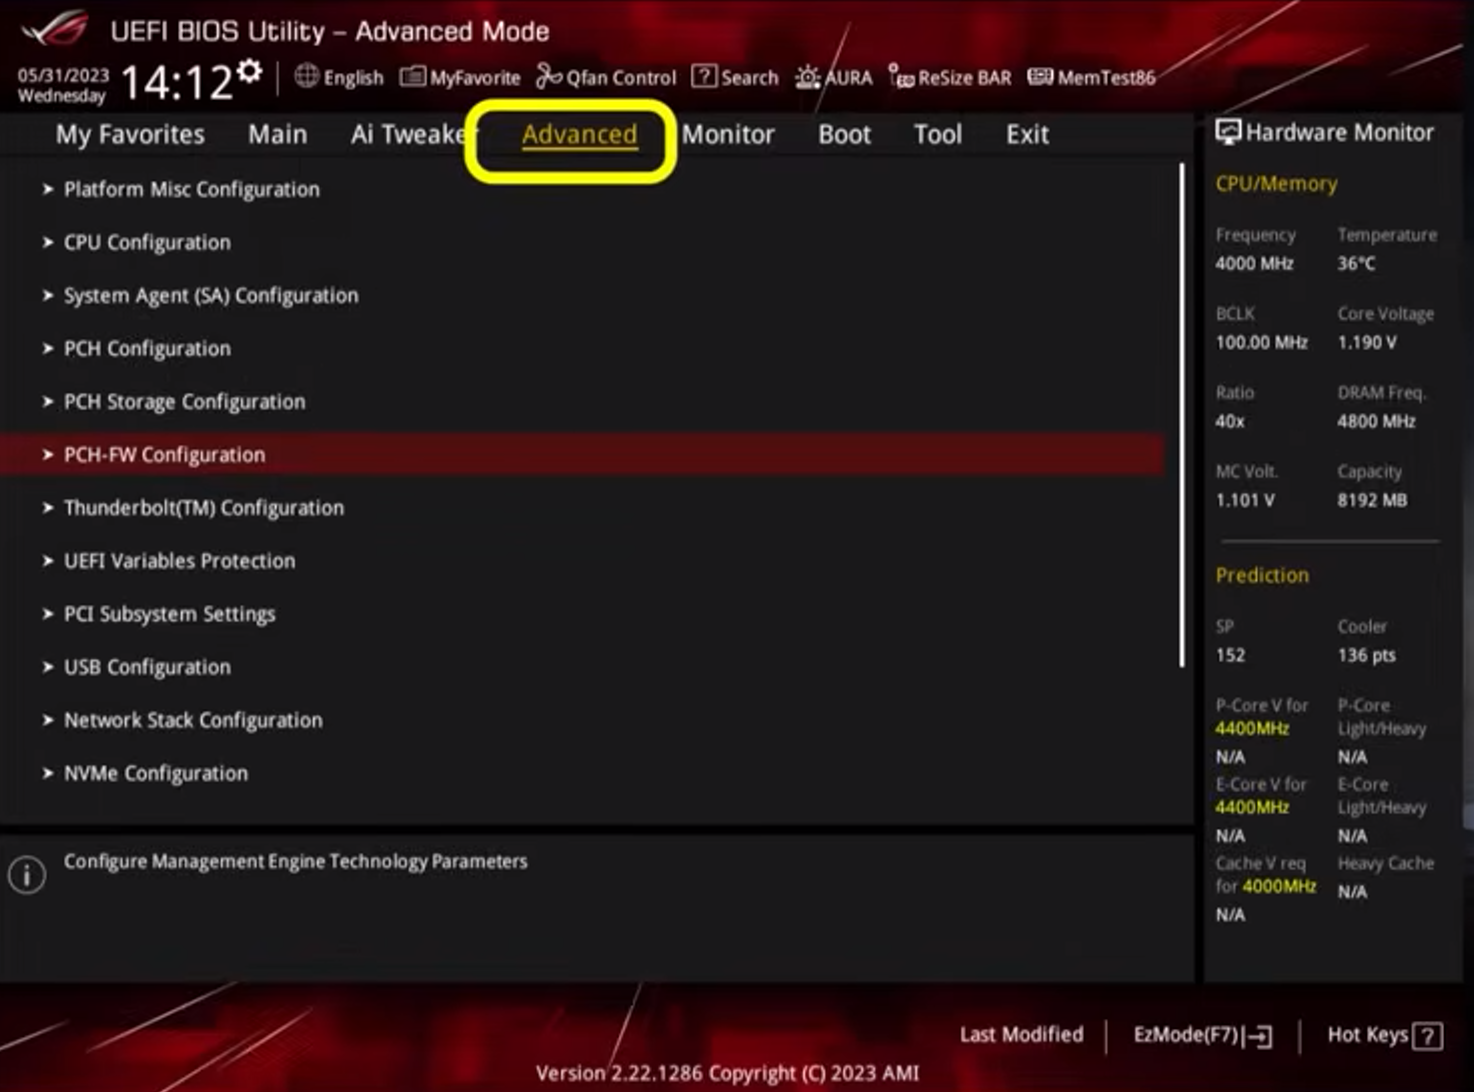
1. From the BIOS main menu, navigate to Advanced.
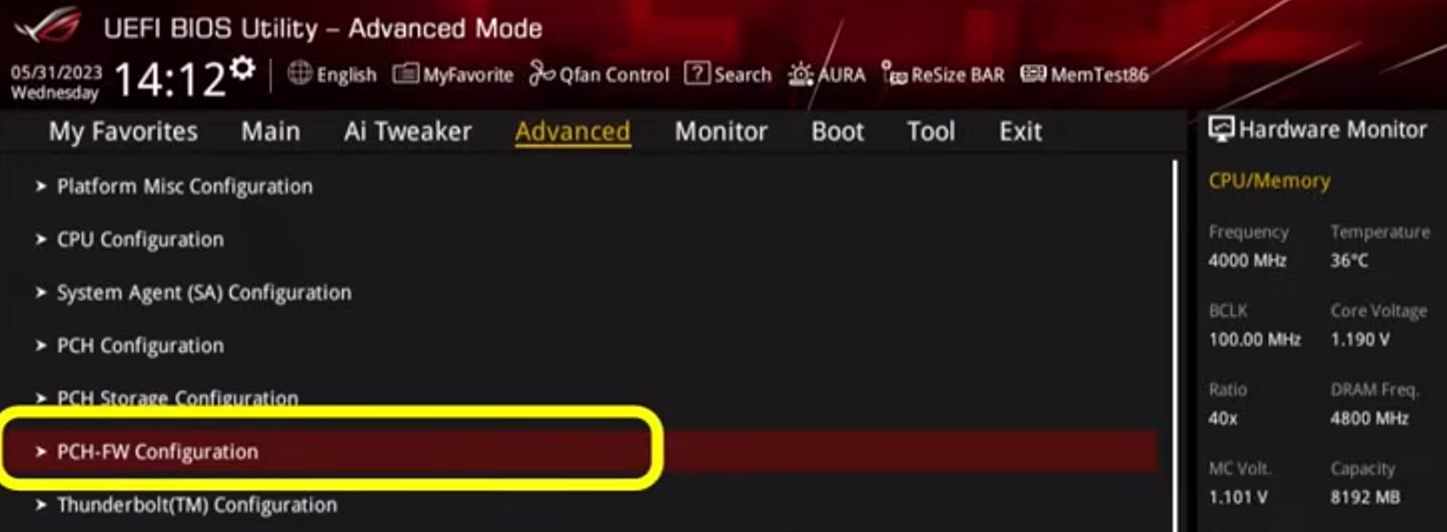
2. Within the advanced menu, click on "PCH-FW Configuration".
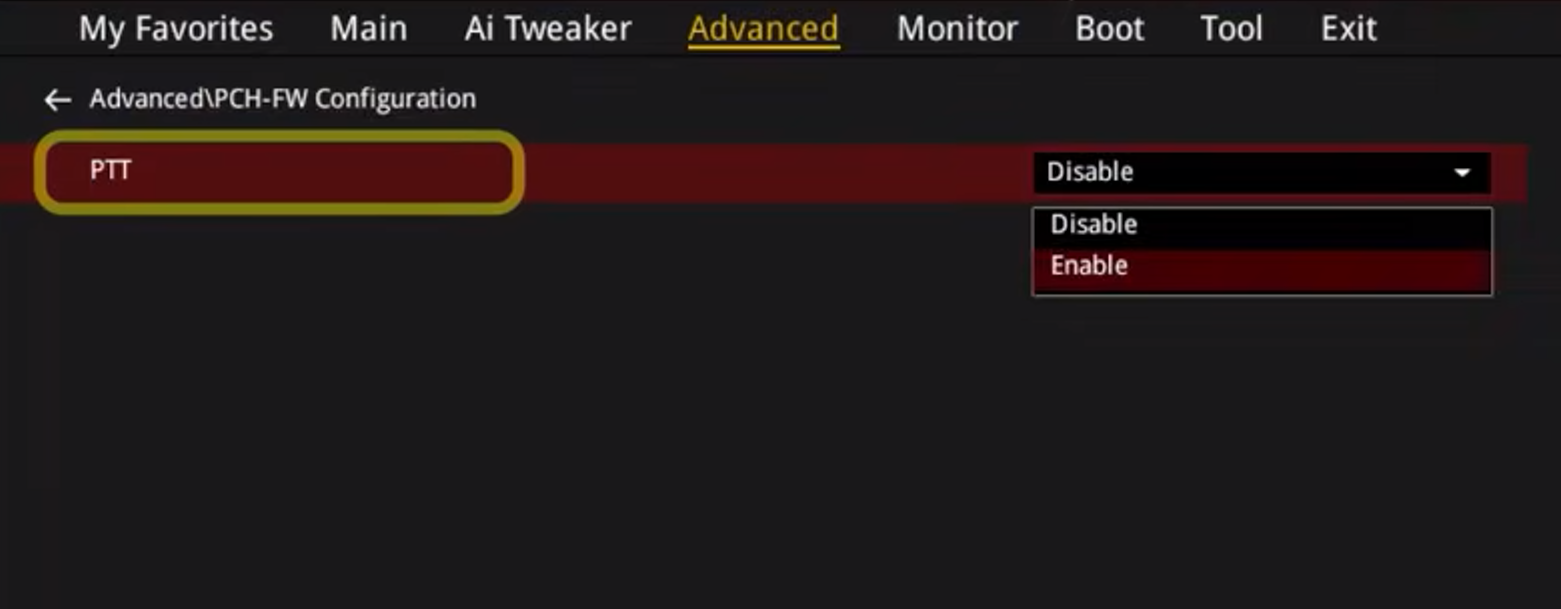
3. In the dropdown menu within the "PTT" tab, select "Enable".
4. Exit BIOS and boot your system. TPM 2.0 should now be enabled.
AsRock Motherboards
AMD Chipsets
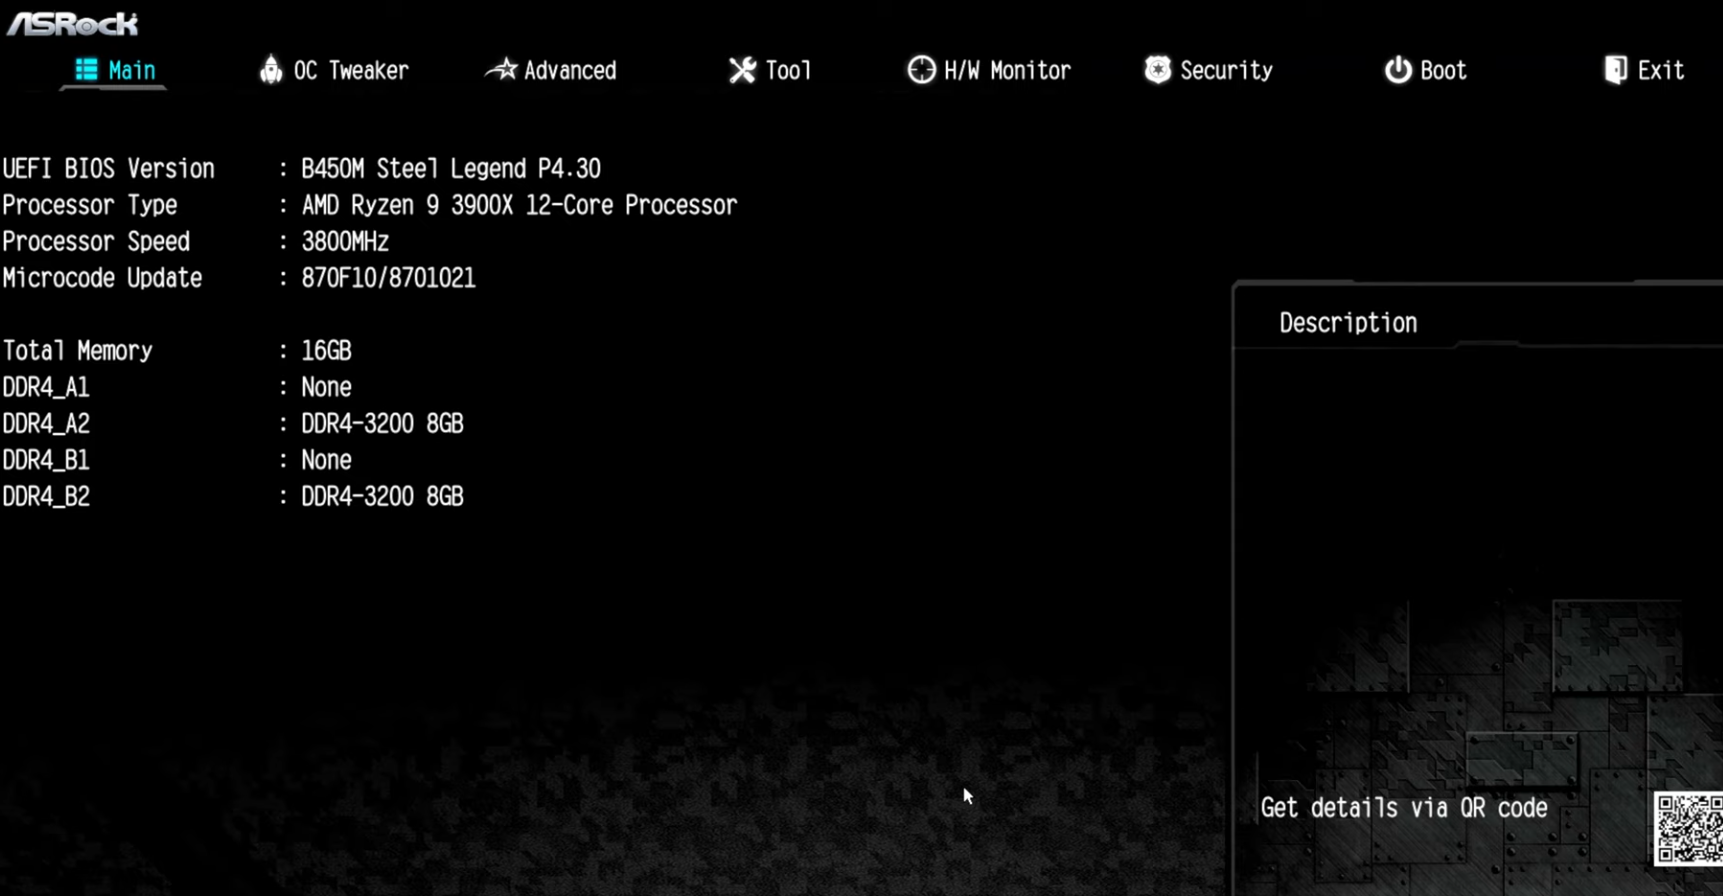
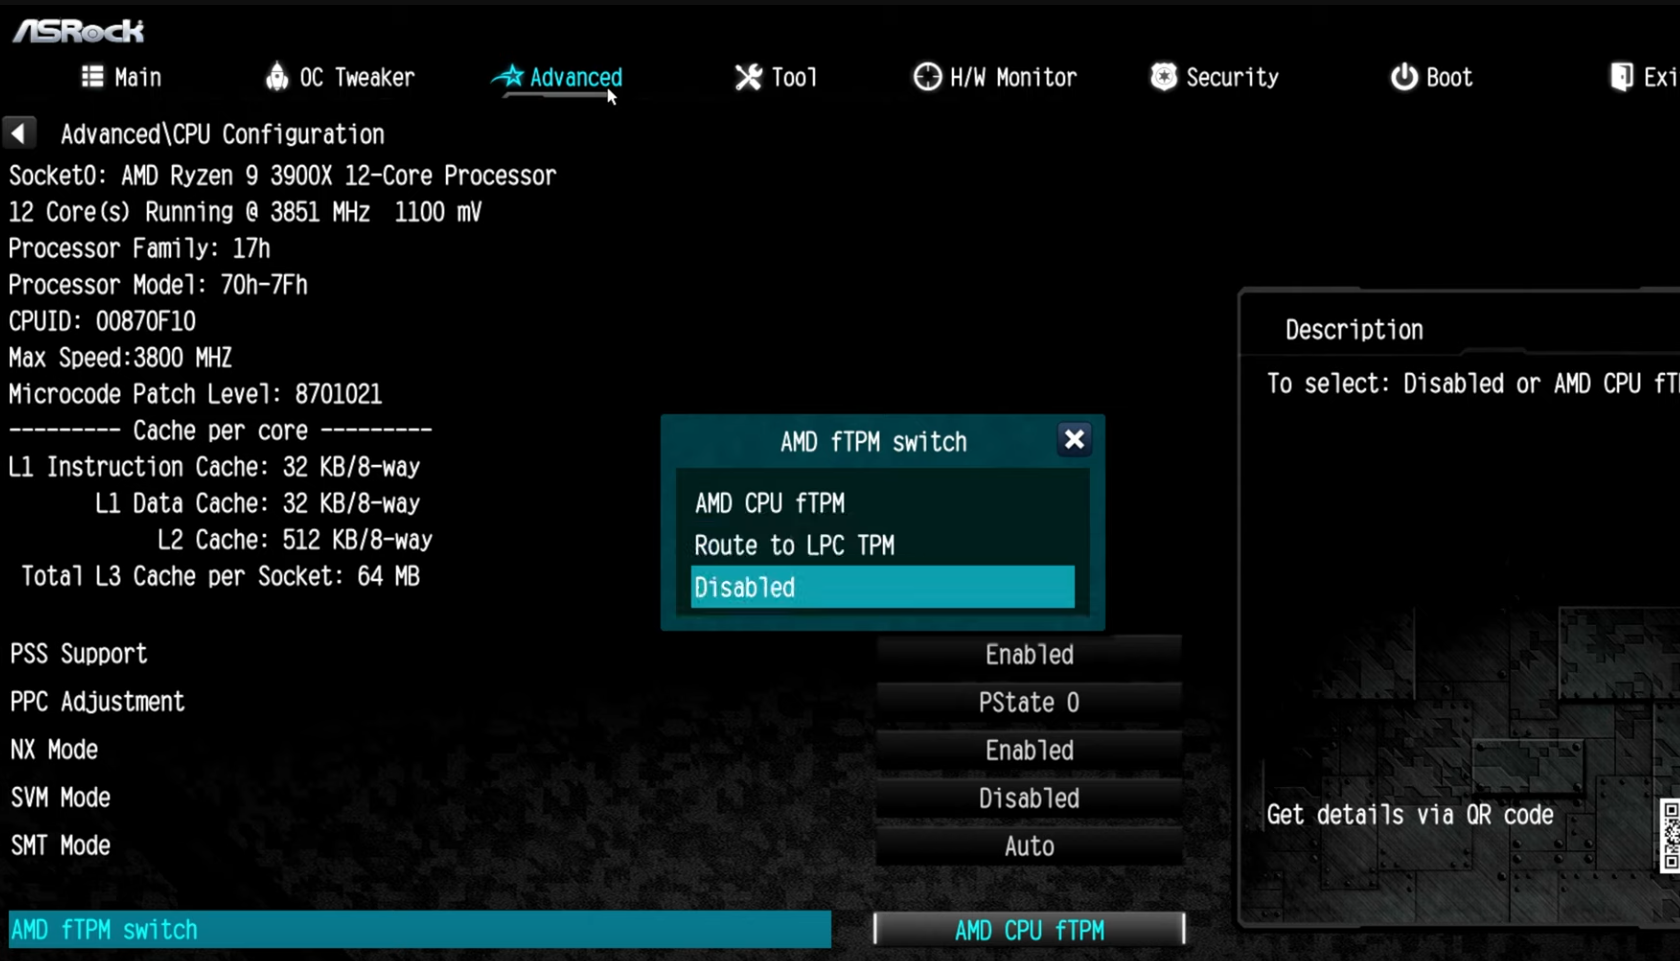
1. From the BIOS main menu, navigate to Advanced.
2. Within the advanced menu, select "CPU Configuration".
3. Within the CPU Configuration menu, click on "AMD fTPM switch".
4. Select AMD CPU fTPM from the pop-up menu.
5. Exit BIOS and boot your system. TPM 2.0 should now be enabled.
Intel Chipsets
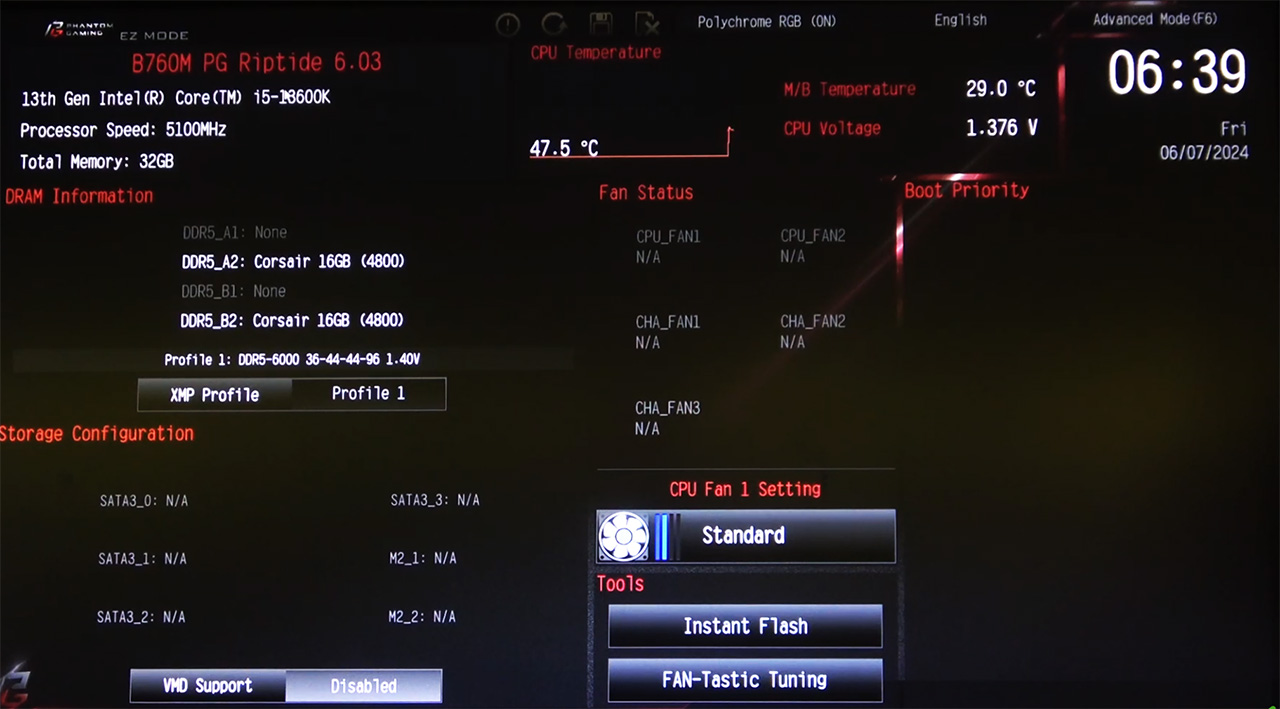
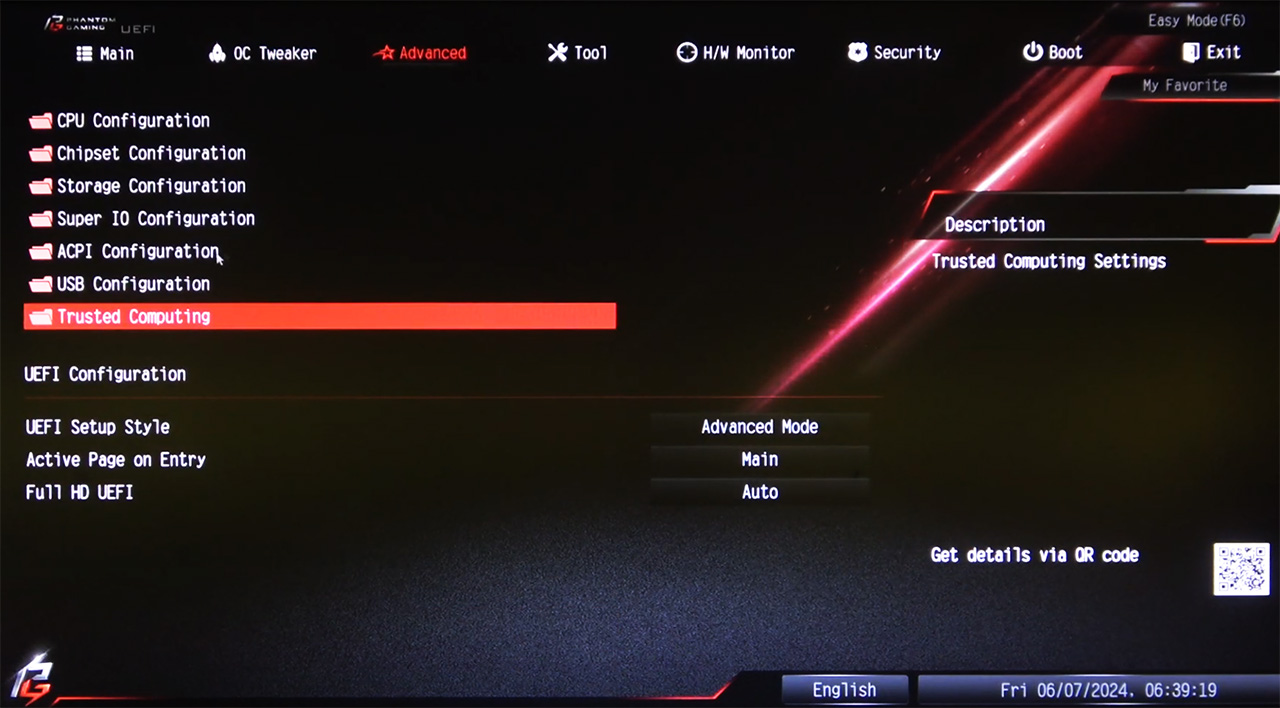
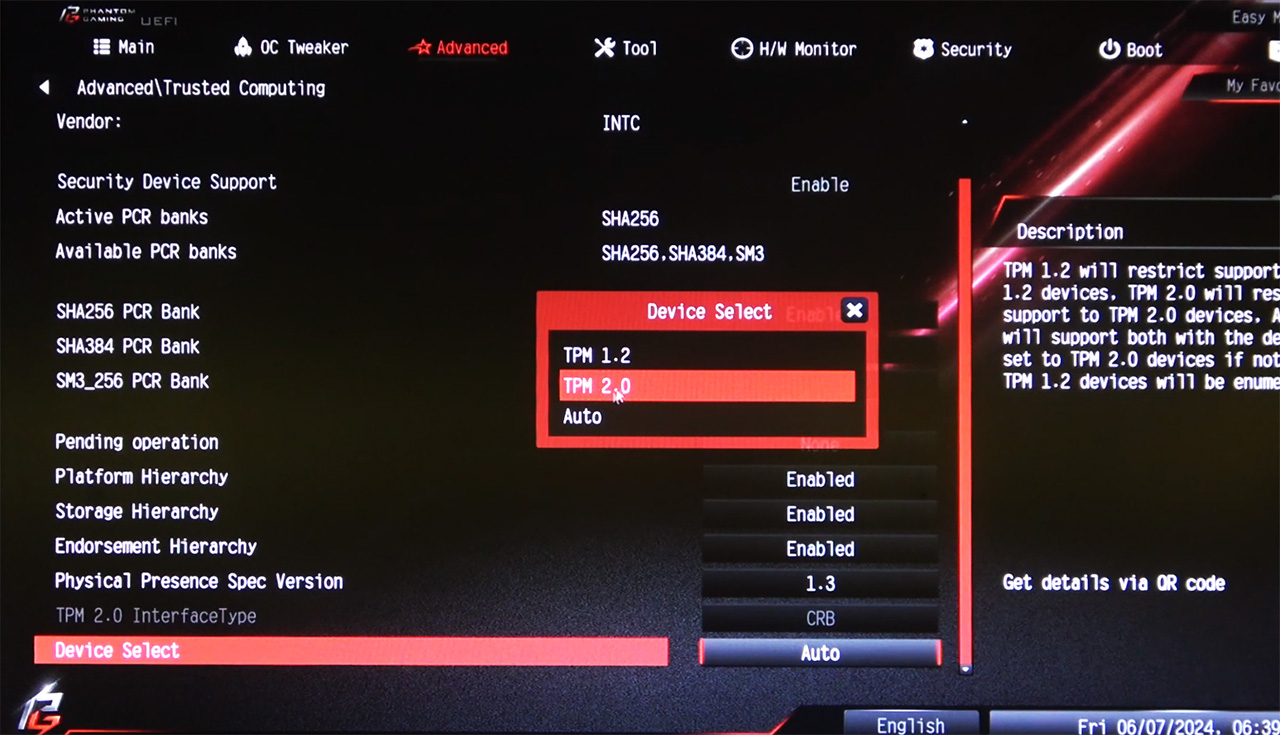
1. From the BIOS main menu, navigate to Advanced.
2. Within the advanced menu, navigate to "Trusted Computing".
3. Scroll down within the Trusted Computing menu until you locate the "Device Select" tab. Enter this tab, and select "TPM 2.0".
4. Exit BIOS and boot your system. TPM 2.0 should now be enabled.
Gigabyte Motherboards
AMD Chipsets

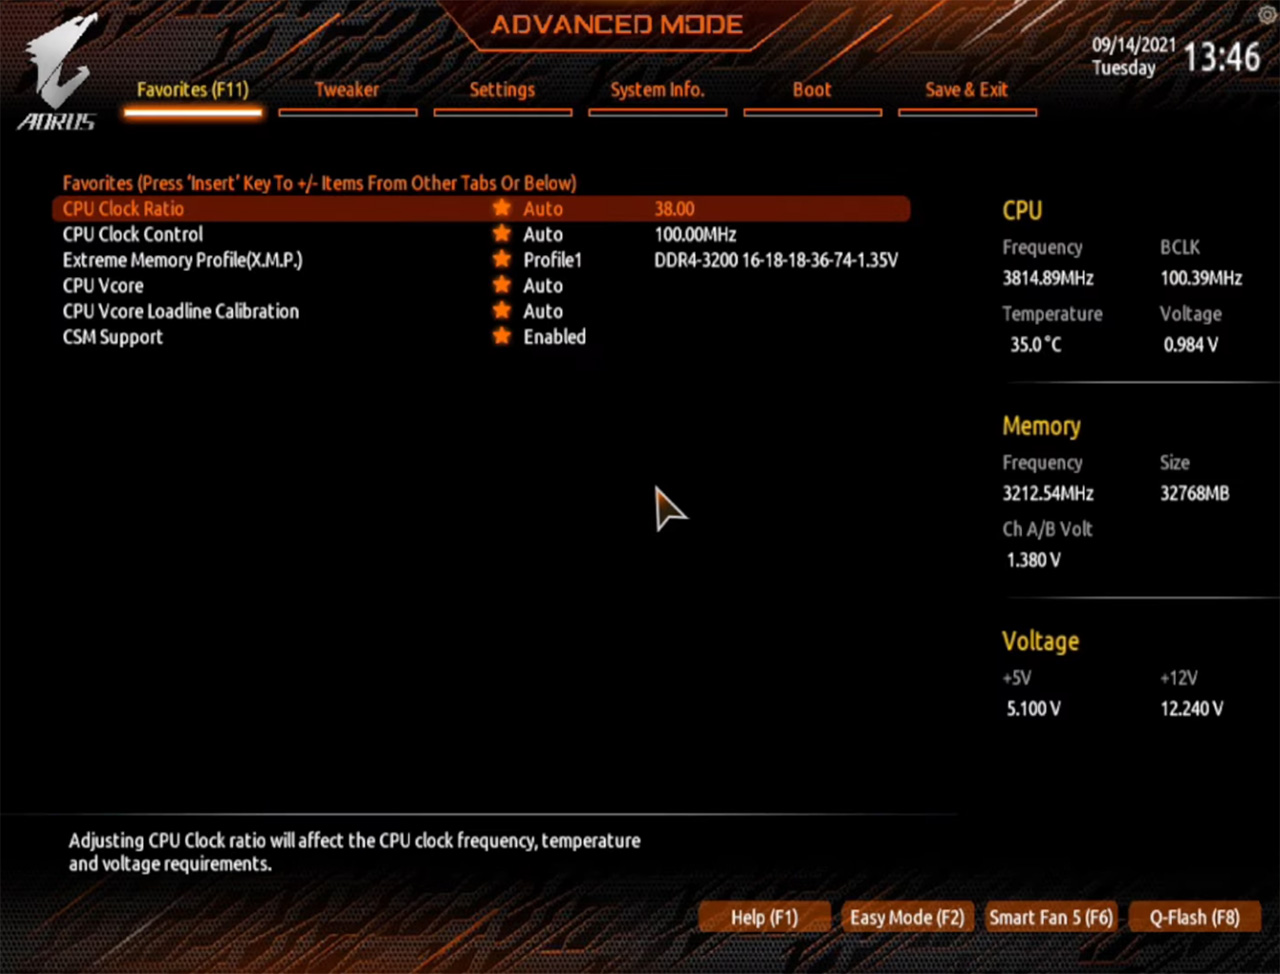
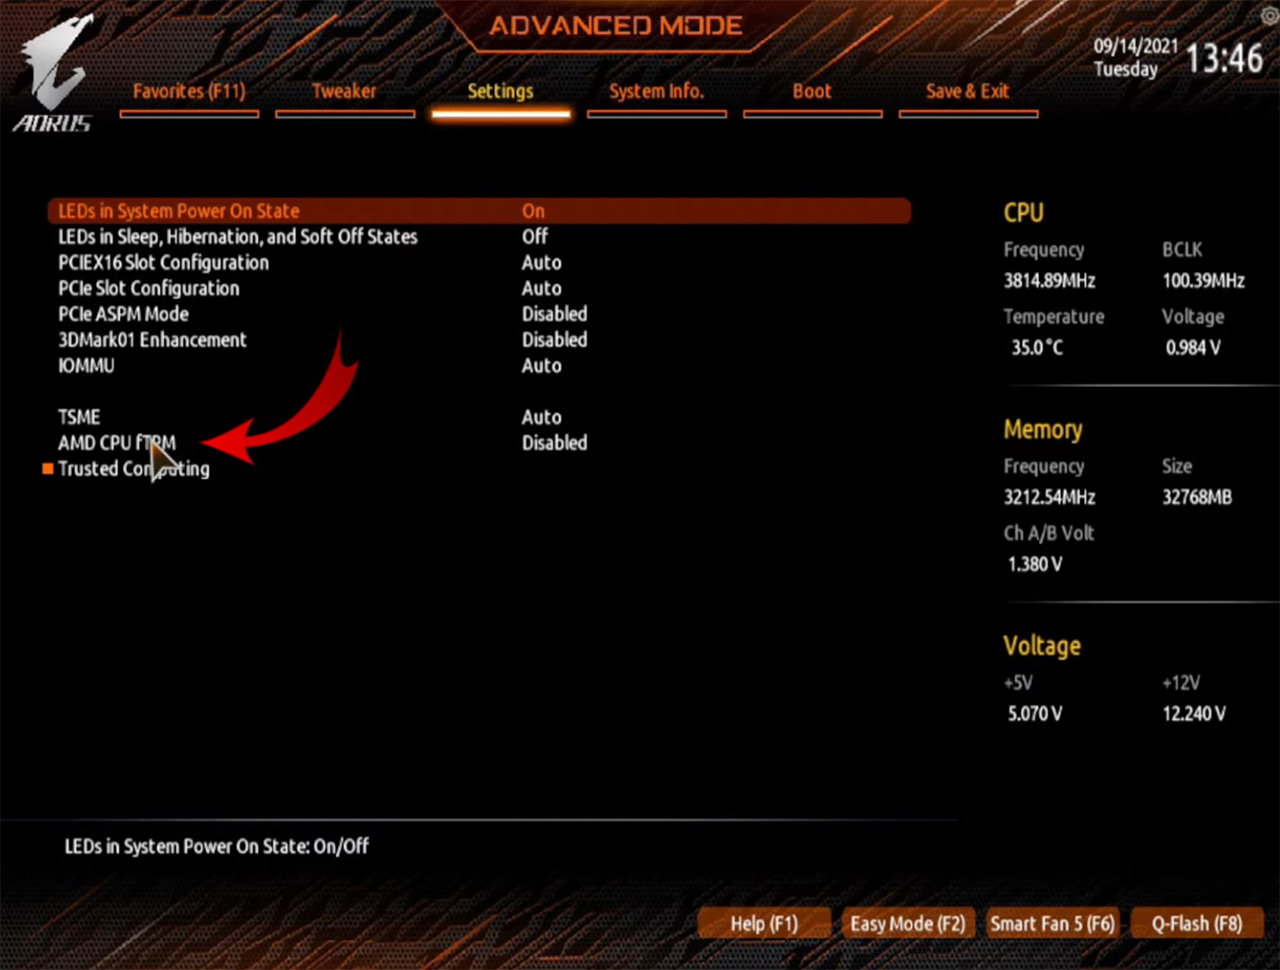
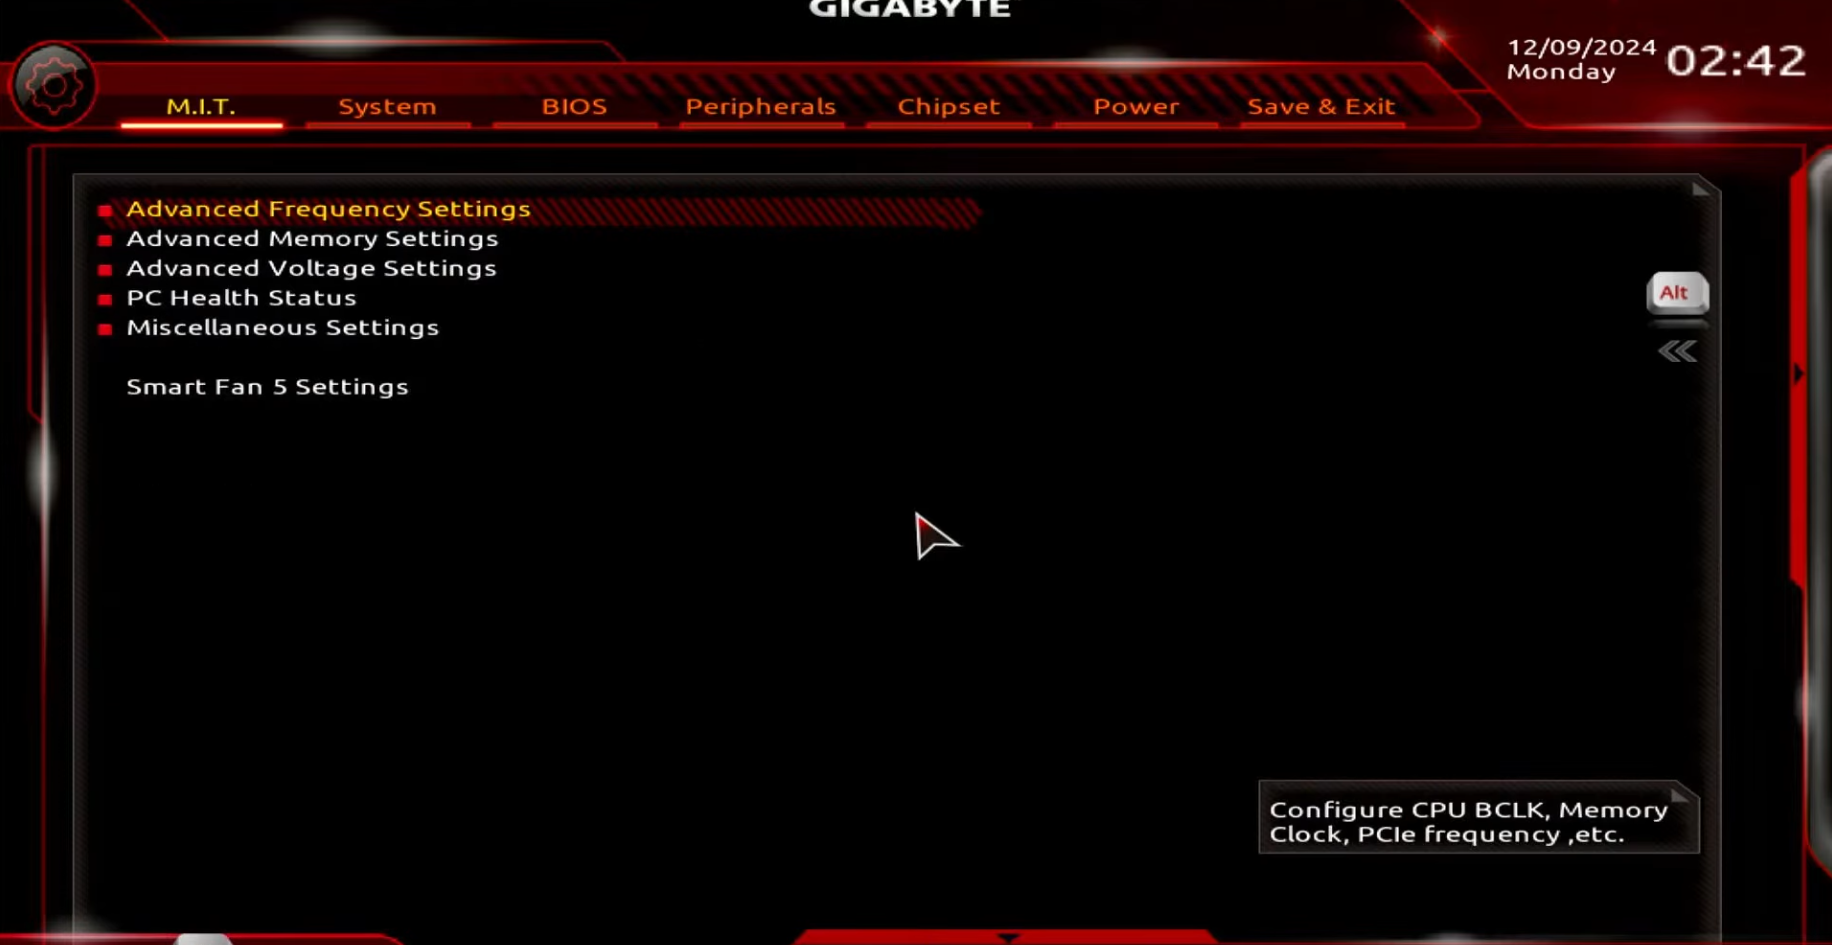
1. From the BIOS main menu, press F2 to enter Advanced Mode.
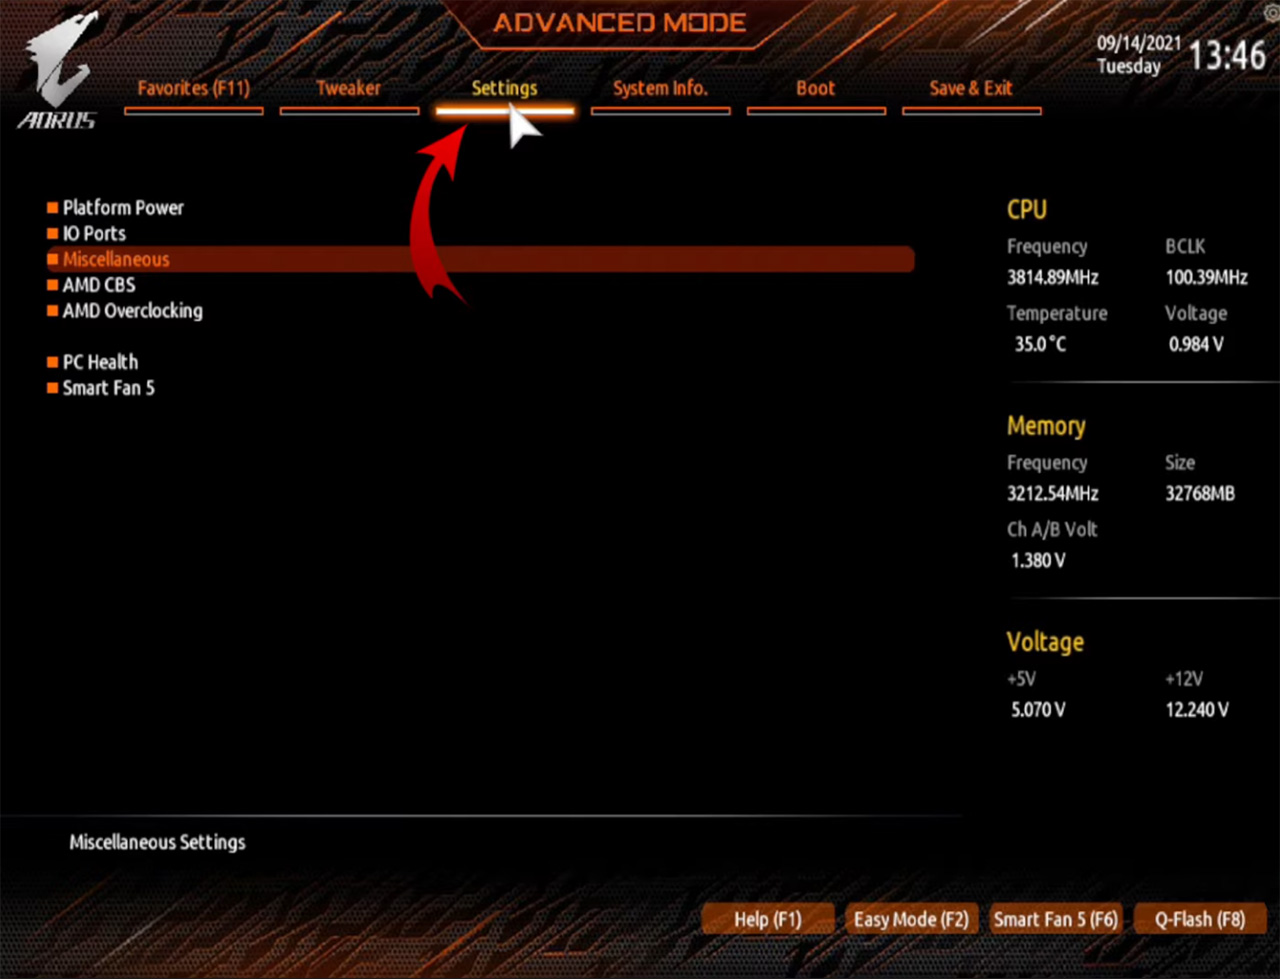
2. Within Advanced Mode, navigate to settings.
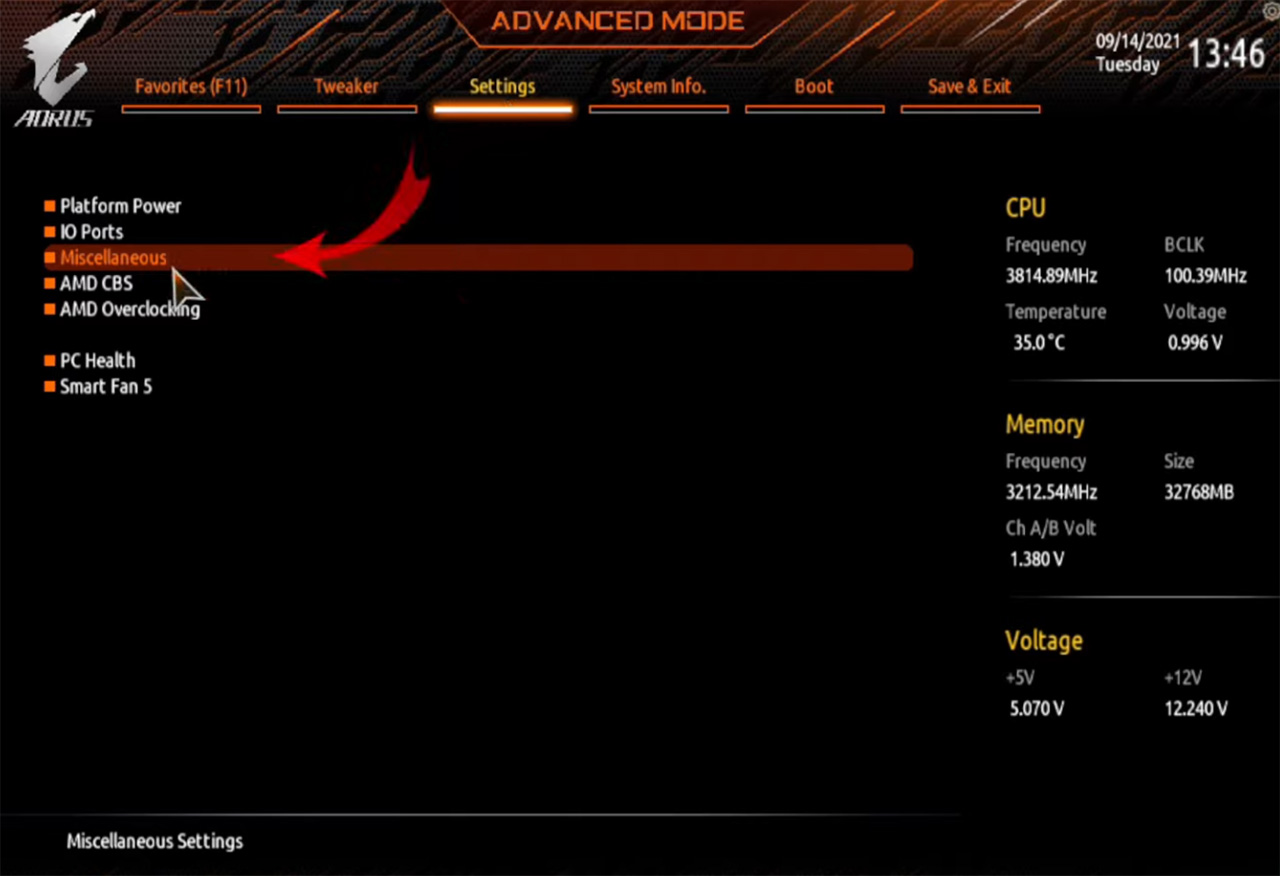
3. Within settings, click on miscellaneous.
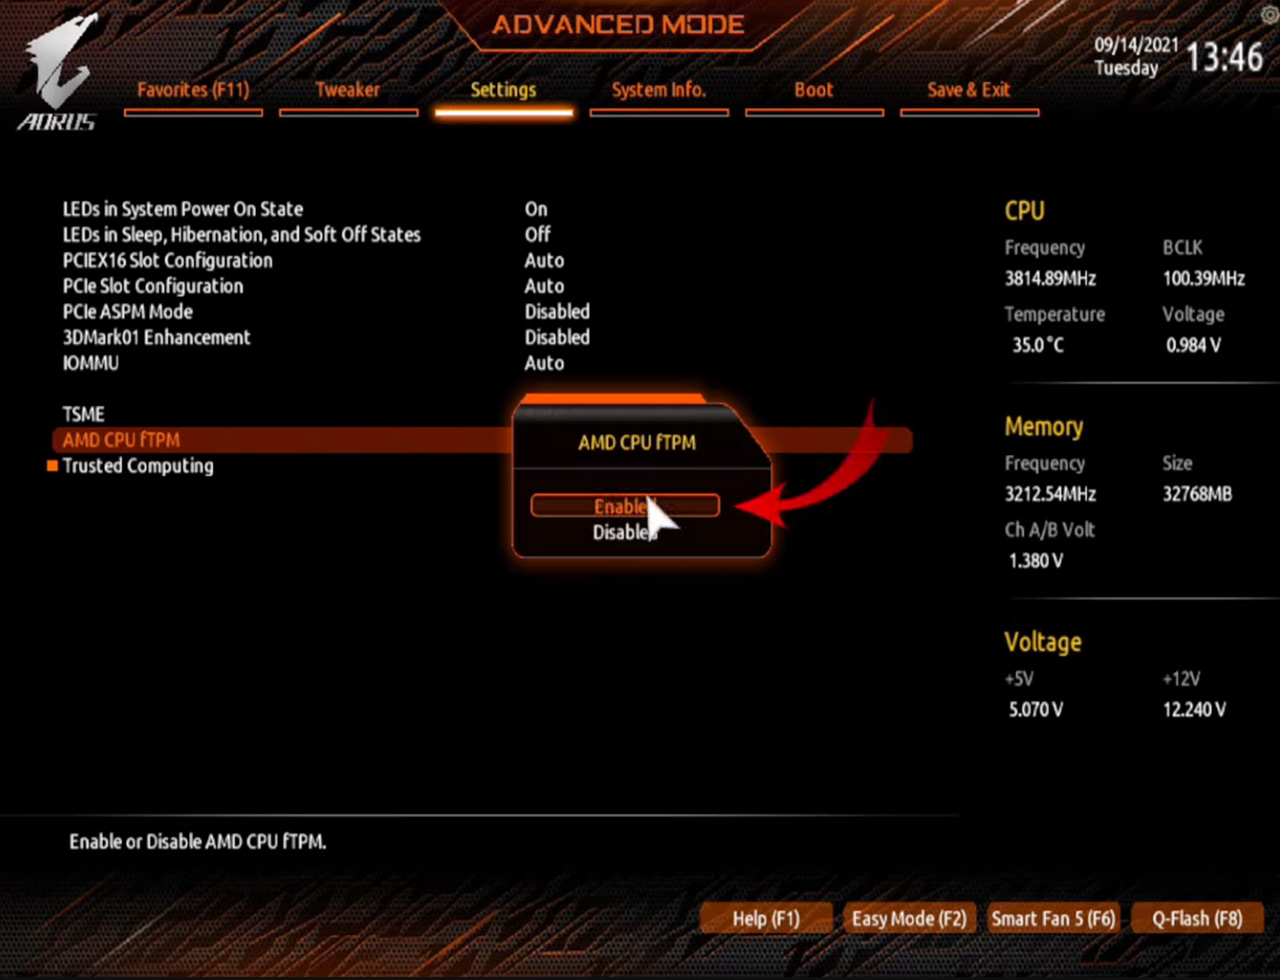
4. Locate "AMD CPU fTPM" in the miscellaneous settings menu.
5. Enable this setting using the pop-up menu.
6. Exit BIOS and boot your system. TPM 2.0 should now be enabled.
Intel Chipsets
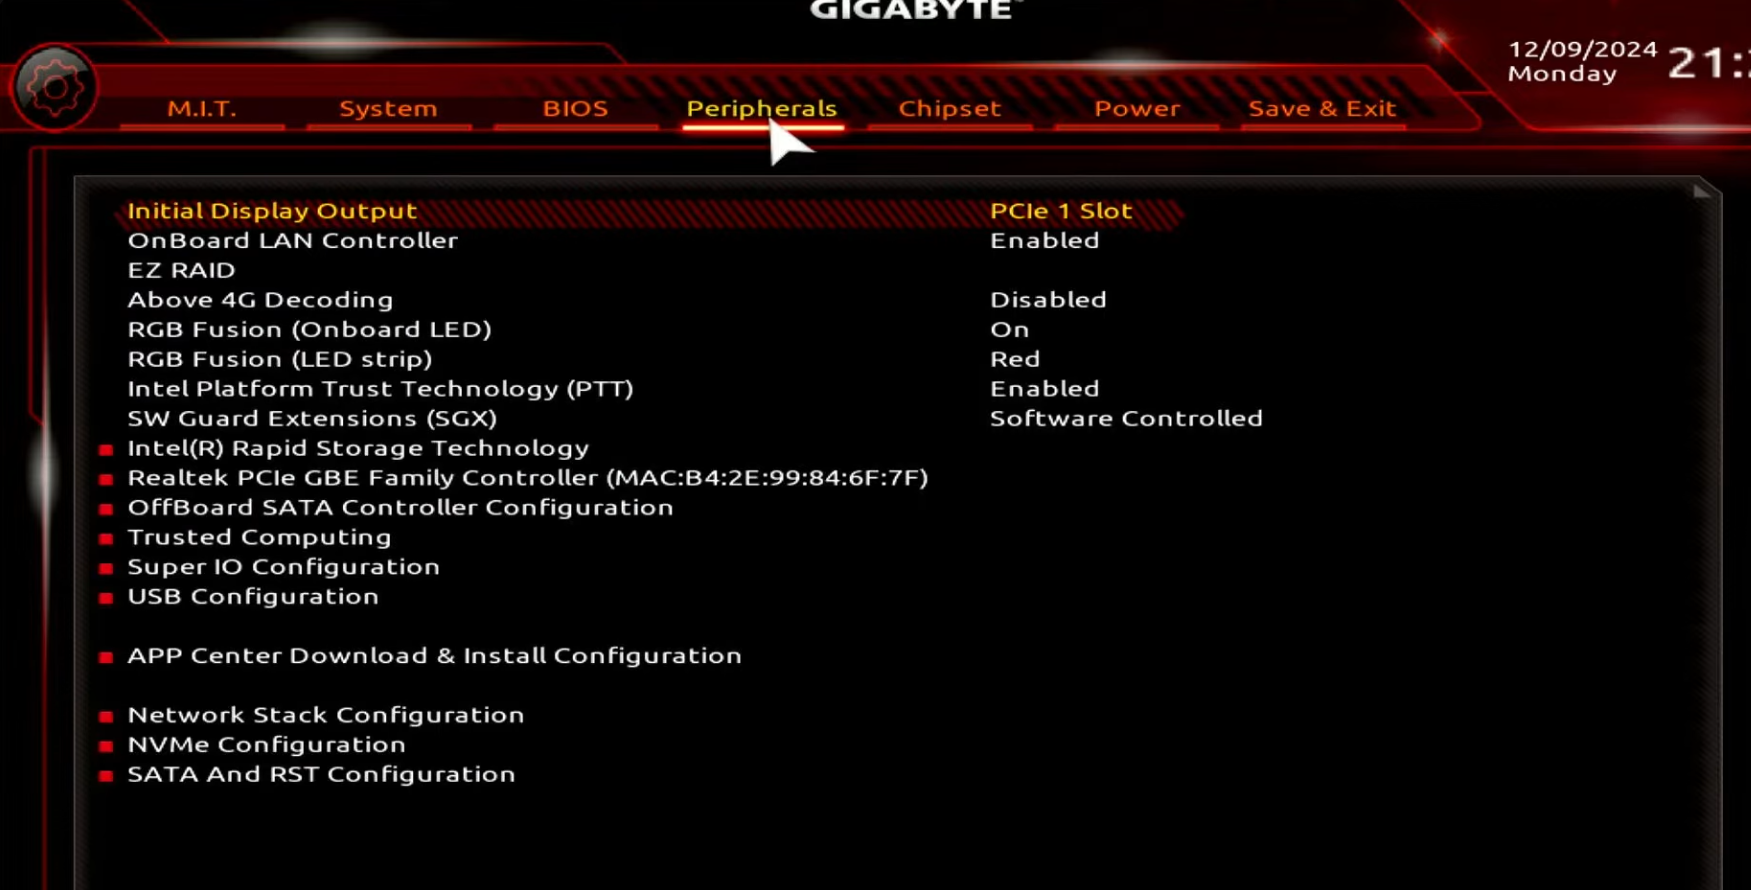
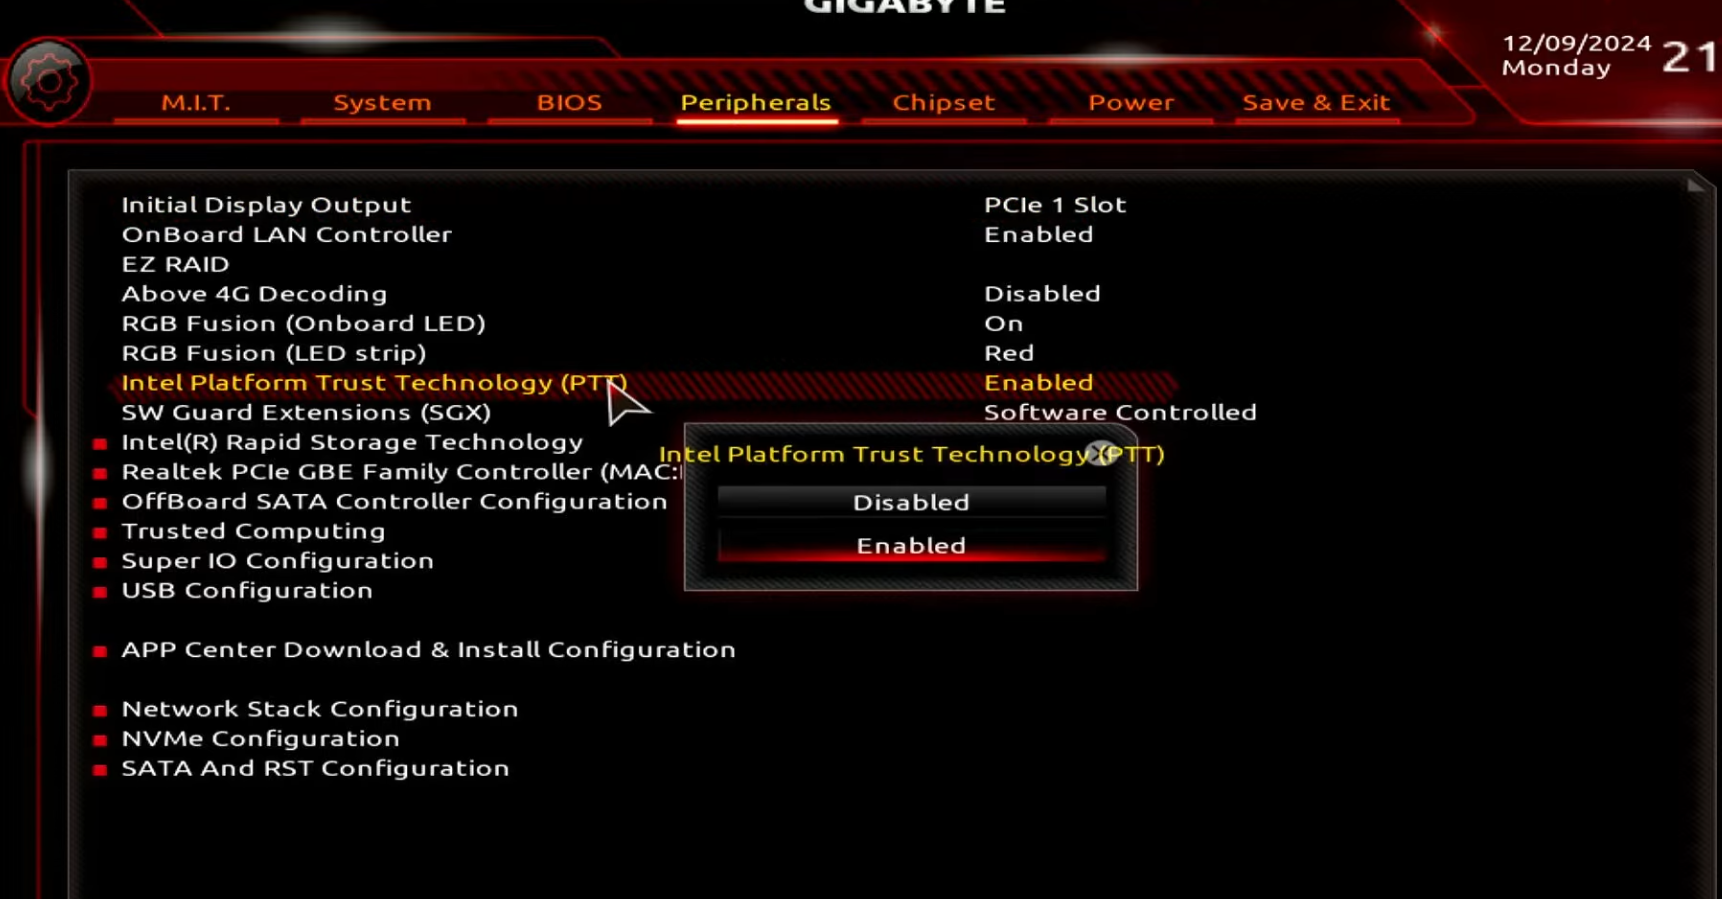
1. From the BIOS main menu, navigate to Peripherals.
2. Within the Peripherals menu, locate the "Intel Platform Trust Technology (PTT)" tab, and click on it.
3. Select "enable" within the pop-up menu.
4. Exit BIOS and boot your system. TPM 2.0 should now be enabled.